The Ultimate Guide: How to Make a Perfect Classroom Poster on Canva (And Print It BIG!)

Let's be honest: We all love Canva. It’s the magic wand that makes every teacher a graphic designer. But have you ever spent hours perfecting a colorful classroom infographic, exported it, and then tried to print it—only to end up with a blurry, pixelated mess that’s the wrong size?
It’s heartbreaking. The issue isn't your design talent or Canva; it's the scaling bottleneck. Designing on a small laptop screen and printing on a standard office copier are two very different worlds.
If you are wondering how to make a poster on Canva that actually looks good when it's printed at 24x36 inches (or bigger) for your school walls, this is the guide for you.
Table of Contents
Step 1: Start with the Right Dimensions (Before You Design!)
This is the number one mistake teachers make. They start designing with the default "US Letter" (8.5x11) or "Instagram Post" canvas size, and try to stretch it later. That is a recipe for a blurry poster. You need to begin with the end in mind.
Setting up Your Canvas:
- Open Canva: From your home page, click Create a design in the top-right corner.
- Use Custom Size: Click the Custom size (+) button at the bottom of the dropdown.
- Change Pixels to Inches: CRITICAL STEP! Switch the units dropdown from px (pixels) to in (inches).
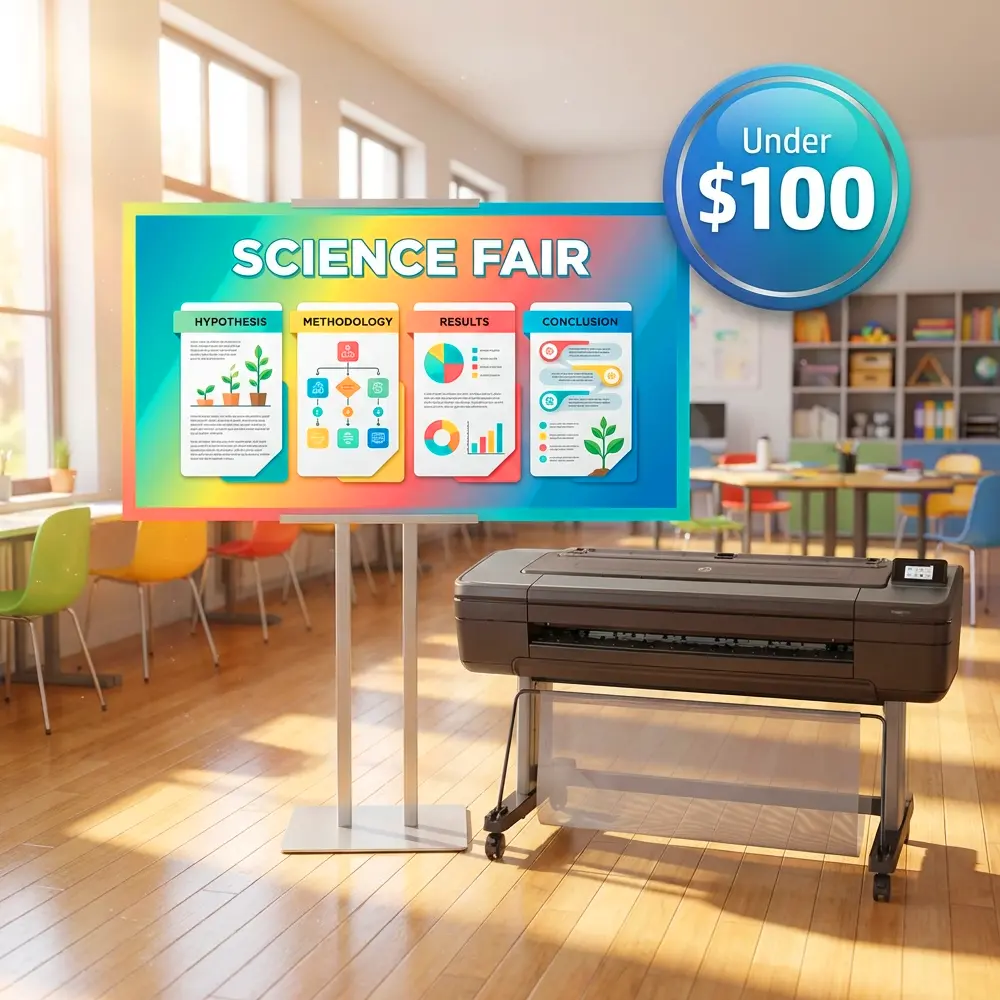
- Enter Your Dimensions: For a standard large school poster printer, enter 24 for Width and 36 for Height.
- Click Create New Design.
Step 2: Use High-Resolution Assets (Photos vs. Vectors)
When you are printing on a massive scale, your elements are amplified. A small, slightly blurry photo from a random website will look like a mosaic when it's 2 feet wide.
- ❌ Avoid: Small JPEGs or low-resolution photos saved from Google Images.
- ✅ Embrace Vectors: Within Canva's "Elements" tab, prioritize using graphics and icons that are vectors. A vector can be scaled infinitely—from a business card to a billboard—and will never lose its crisp edge.
Step 3: Typography Rules for Large Prints
A common pitfall is forgetting how far away students will be from the poster. Your beautiful, elegant script font might look great on your monitor, but it will be unreadable from the third row of the classroom.
"For instructional poster content, never use a font size smaller than 48 points. Anything smaller is just a handout taped to the wall."
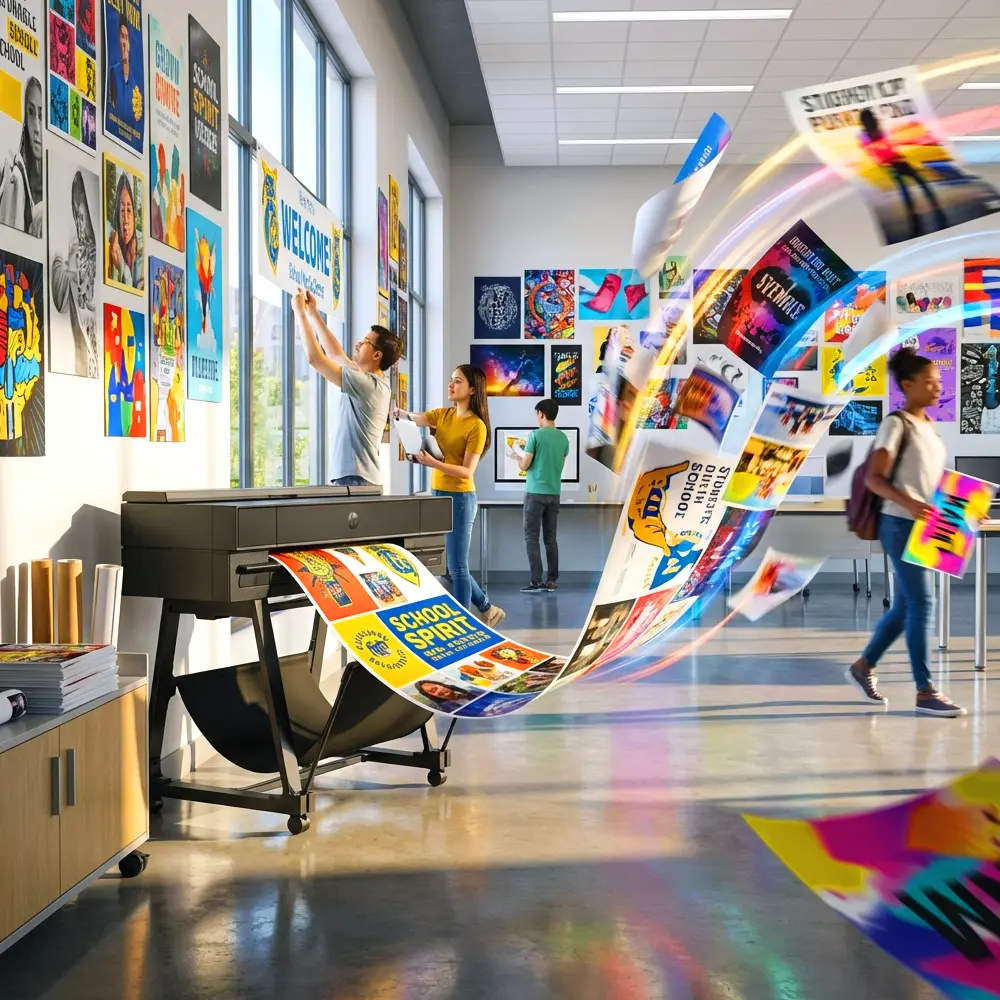
The Final Mile: The School Printer Bottleneck
Congratulations! Your design is beautiful, it's 24x36, and the resolution is crisp. You click "Export."
...Now what?
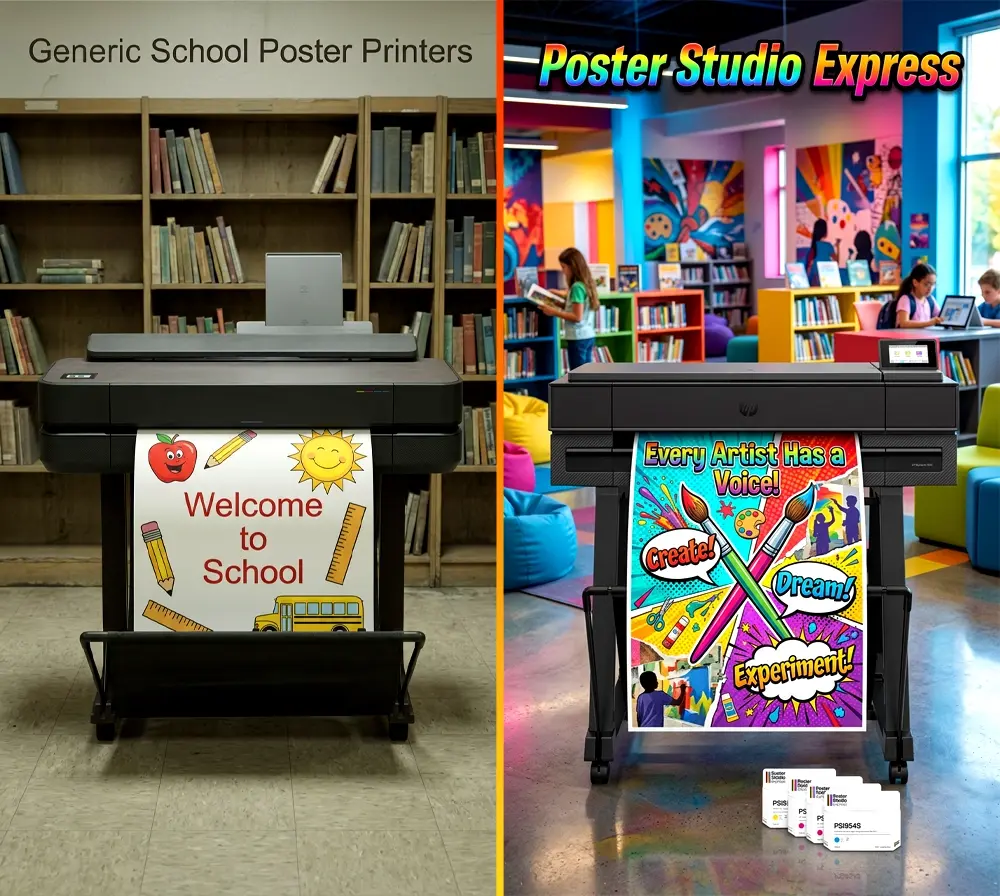
This is where the dream often dies for educators. Your generic office photocopier or the tiny inkjet printer in the media center cannot handle large-format color printing well. They lead to colors shifting, the printer adding large white margins, or simply wasted time and budget fighting with driver settings.
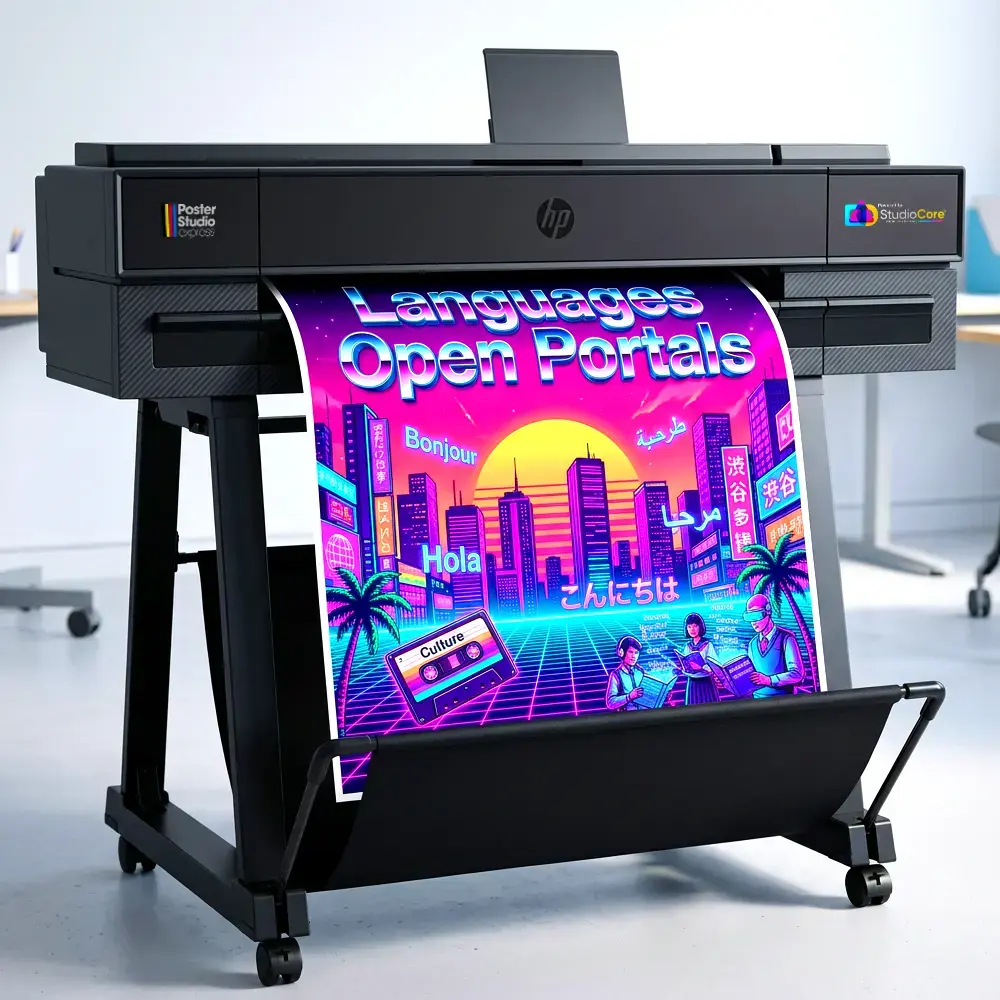
The Secret to Flawless Canva Printing: StudioCore
When we designed the Poster Studio Express school poster making system, we knew we had to solve the "Canva problem."
We developed StudioCore—the propriety software that comes with every printer we sell. It acts as the intelligent bridge between your Canva PDF and your large-format machine, ensuring your vision comes to life perfectly.
- Drag-and-Drop Scaling: StudioCore automatically recognizes your design and fits it perfectly to your roll size. No more margin headaches.
- Vibrant Color Mapping: Our software is calibrated to our specific inks and paper, making your designs pop with professional, true-to-life color.
- Built-in Printables: Don't have time for Canva today? StudioCore includes thousands of pre-made, curriculum-based poster templates ready to print instantly.
Start Printing Smarter, Not Harder
Combine the creativity of Canva with the power and simplicity of a complete Poster Studio Express system. Eliminate the technical headaches and fill your hallways with impactful visuals.