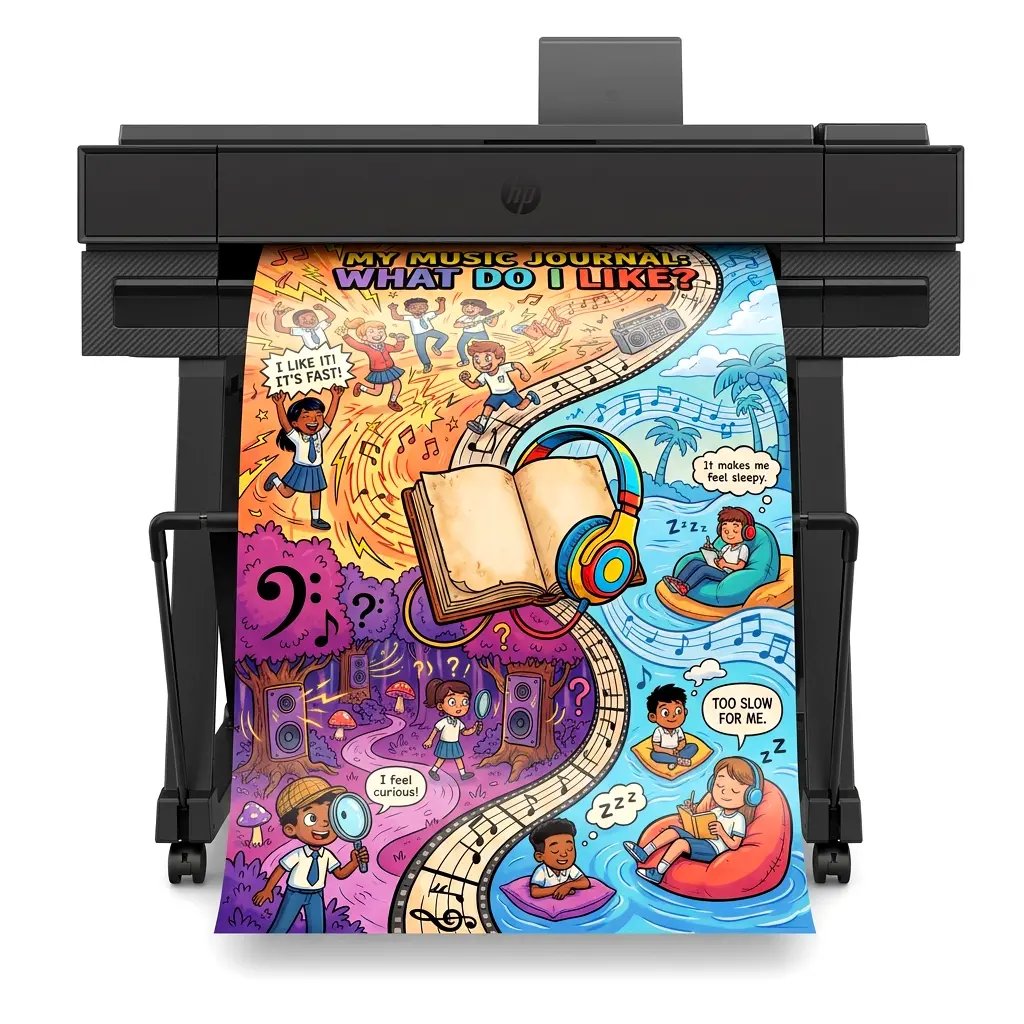
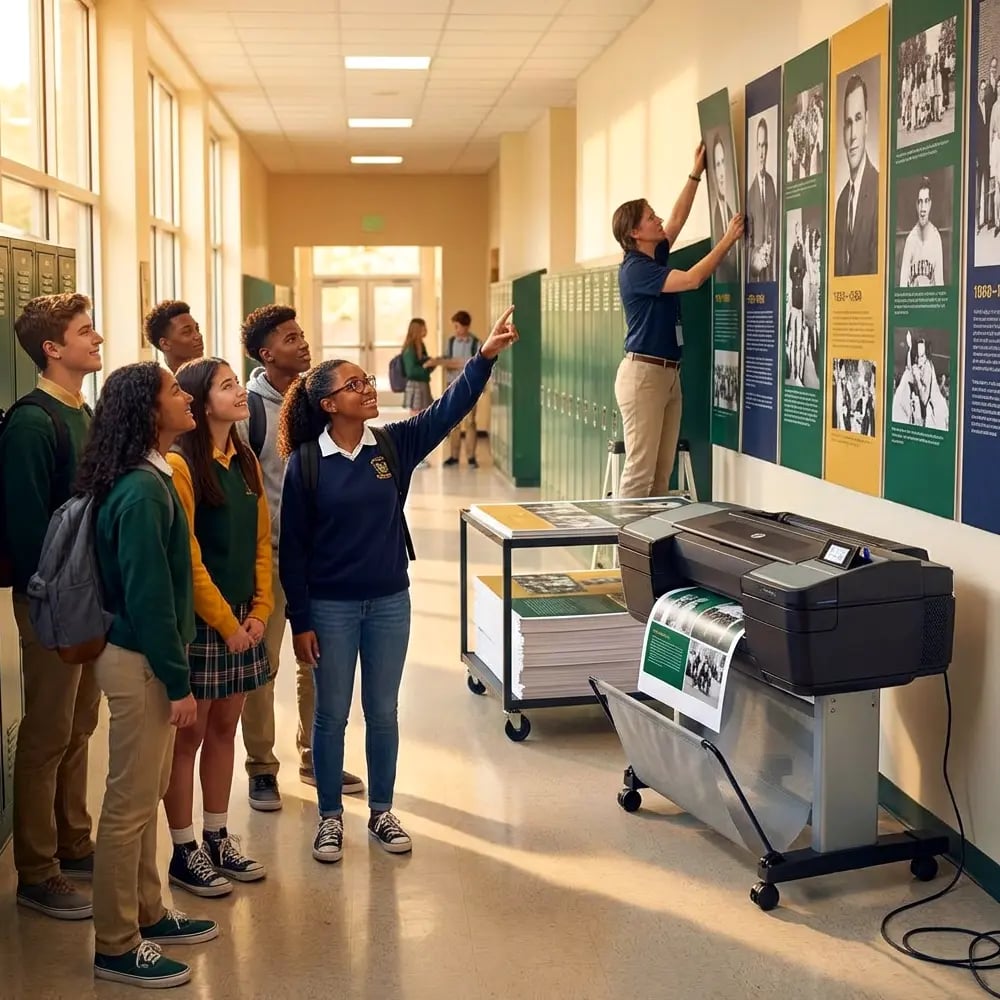
The Magic of Banner Printing Machines Poster System
Picture this: Maya bursts into my art room clutching a crumpled worksheet covered in pencil smudges, her eyes sparkling with pride. “Ms. Park, can we make this HUGE for the hallway?” she asks, holding up her hand-drawn comic about the water cycle. Twenty minutes later, we’re mounting a vibrant 24×36 poster that turns heads and starts conversations. That transformation happens daily in my classroom, thanks to our simple banner printing machines poster system that turns any piece of student work into gallery-worthy displays.
After eight years of watching students light up when their work goes big, I’ve refined a foolproof process that any teacher can master. Whether you’re dealing with a kindergartener’s first self-portrait or an eighth-grader’s detailed anatomy diagram, this three-step system works every time. Best of all, it eliminates the intimidation factor that keeps many educators from exploring their school’s poster printing capabilities.
Research from the International Visual Literacy Association shows that students retain 65% more information when learning includes visual elements, compared to text alone. Yet many classrooms miss opportunities to amplify student work simply because the process seems too complex. That’s where our streamlined approach comes in – turning chaos into confidence in just three steps.

Step 1: Capture the Creation
The journey begins at the source – that precious piece of student work. Whether it’s a watercolor masterpiece or a math worksheet covered in brilliant problem-solving, proper capture sets the foundation for poster perfection. I keep a dedicated “scan station” in my classroom with simple tools that make this step automatic.
Essential Scanning Tips:
• Flatten wrinkled papers under heavy books for 10 minutes before scanning
• Clean the scanner glass with microfiber cloth between uses
• Set resolution to 300 DPI for crisp enlargements
• Save files with student names and dates for easy organization
• Use “photo” mode for artwork, “document” mode for text-heavy pieces
Optimal scanning resolution for poster-quality prints
Quick Fixes for Common Scanning Challenges
Dark pencil marks? Boost the brightness by 10-15% during scanning. Torn edges? Position the paper on a colored background sheet that contrasts with the artwork. Mixed media pieces with 3D elements? Use your smartphone’s scanning apps like Adobe Scan or CamScanner, which handle dimensional work better than flatbed scanners. These apps automatically enhance contrast and remove shadows – perfect for capturing texture and depth.
Step 2: Clean and Enhance
This is where the real transformation happens. Even the messiest worksheet becomes poster-worthy with a few simple digital touch-ups. You don’t need expensive software or advanced skills – just these straightforward techniques that work in any basic photo editor or even Google Drawings.
Background Cleanup
How To Do It
Remove coffee stains, fold marks, and shadows with the clone tool Use the magic wand to select white areas, then fill with pure white. For stubborn marks, copy clean sections and paste over blemishes. Takes 2-3 minutes max!Color Boost
Enhancement Tips
Make pale pencil drawings pop with contrast adjustments Increase contrast by 20-30% and bump saturation by 15%. For pencil work, try the “Levels” tool to darken lines without losing detail. Always preview at 100% zoom!Smart Cropping
Composition Rules
Frame the work to maximize visual impact Leave 1-2 inches of white space around artwork. For text-heavy pieces, crop tighter but maintain margins. Consider the final display location when choosing orientation!Software Solutions That Won’t Break Your Budget
Forget expensive subscriptions! These free tools handle 95% of classroom poster prep needs:
Google Drawings: Perfect for adding text overlays, borders, and simple edits. Automatically saves to Drive for easy access.
Canva Free: Offers one-click enhancement filters and thousands of educational templates. The drag-and-drop integration with our poster systems makes printing seamless.
GIMP: Open-source alternative to Photoshop for advanced edits. Intimidating at first, but YouTube tutorials make it manageable.
Photos App (Windows/Mac): Built-in editors handle basic corrections beautifully. Often overlooked but surprisingly powerful!

Our design software makes cleanup even easier!
Step 3: Print with Confidence
This final step transforms digital files into hallway-ready masterpieces. After years of troubleshooting print mishaps, I’ve discovered that success comes down to understanding a few key settings. Most banner printing machines offer preset options that eliminate guesswork, but knowing these fundamentals ensures perfect results every time.
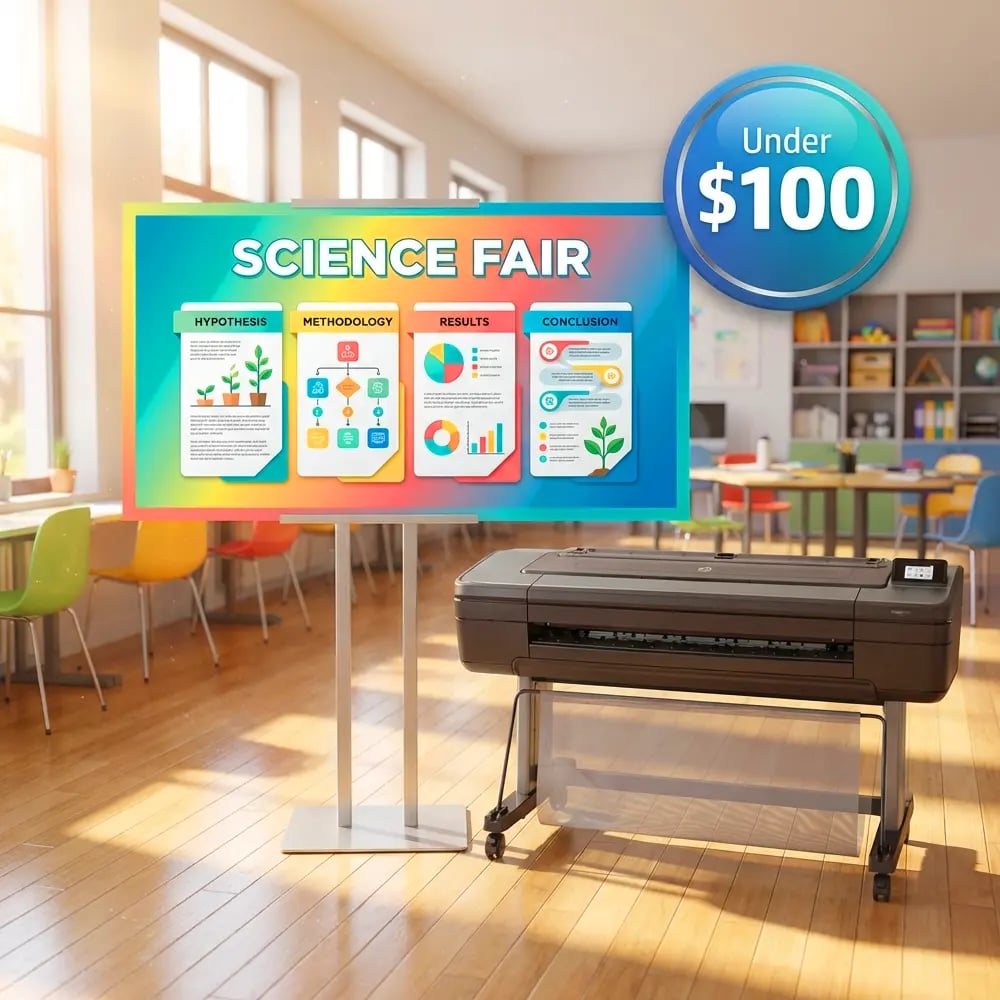
Essential Print Settings for Banner Printing Machines Poster System
Paper Selection: Match media to purpose. Standard coated poster paper works beautifully for indoor displays. The slight sheen enhances colors without glare, and at around $1.30-1.50 per poster, it fits any budget.
Size Calculations: Start with standard sizes (18×24, 24×36) for easy laminating. Use the “fit to page” option to maintain proportions automatically. For panoramic student work, consider printing in sections and creating a stunning multi-panel display.
Color Management: Select “Best Quality” or “Presentation” mode for vibrant results. Enable “Vivid Photo” settings for artwork, “Text/Graphics” for worksheets. These presets optimize ink distribution for each content type.
Print Preview: Always, always check the preview! Look for unexpected crops, rotated orientations, or sizing issues. This 30-second check saves paper and prevents disappointment.
Troubleshooting Common Print Hiccups
Even with the best preparation, occasional challenges arise. Here’s your quick-fix guide:
Faded Colors? Check ink levels first. If adequate, increase saturation by 10% in your editing software before reprinting. Sometimes monitors display colors differently than printers produce.
Pixelated Images? Your resolution is too low. Original scans must be 300 DPI minimum. For existing low-res files, try AI upscaling tools like Upscayl (free) or Let’s Enhance (limited free uses).
Streaks or Lines? Run the printer’s cleaning cycle. If persistent, the printhead might need replacement. Our 5-year warranty covers these issues completely!
Paper Jams? Usually caused by humidity. Store paper in a cool, dry place. Fan the edges before loading to separate sheets. Load smaller amounts in humid weather.
Real Stories from Real Classrooms
“Last spring, my shy third-grader Aiden created a tiny pencil sketch of his favorite book character. Using this three-step system, we transformed it into a 36-inch reading corner poster. Aiden beamed with pride, and suddenly every student wanted their artwork ‘posterized.’ That single print sparked a classroom gallery that boosted participation by 40%!”
– Maria Santos, 3rd Grade Teacher
“Our school’s poster machine price seemed daunting until we calculated the impact. One poster celebrating perfect attendance motivated students so effectively that tardiness dropped 35%. When you consider the educational value, these machines pay for themselves through engagement alone.”
– Principal Johnson, Riverside Elementary
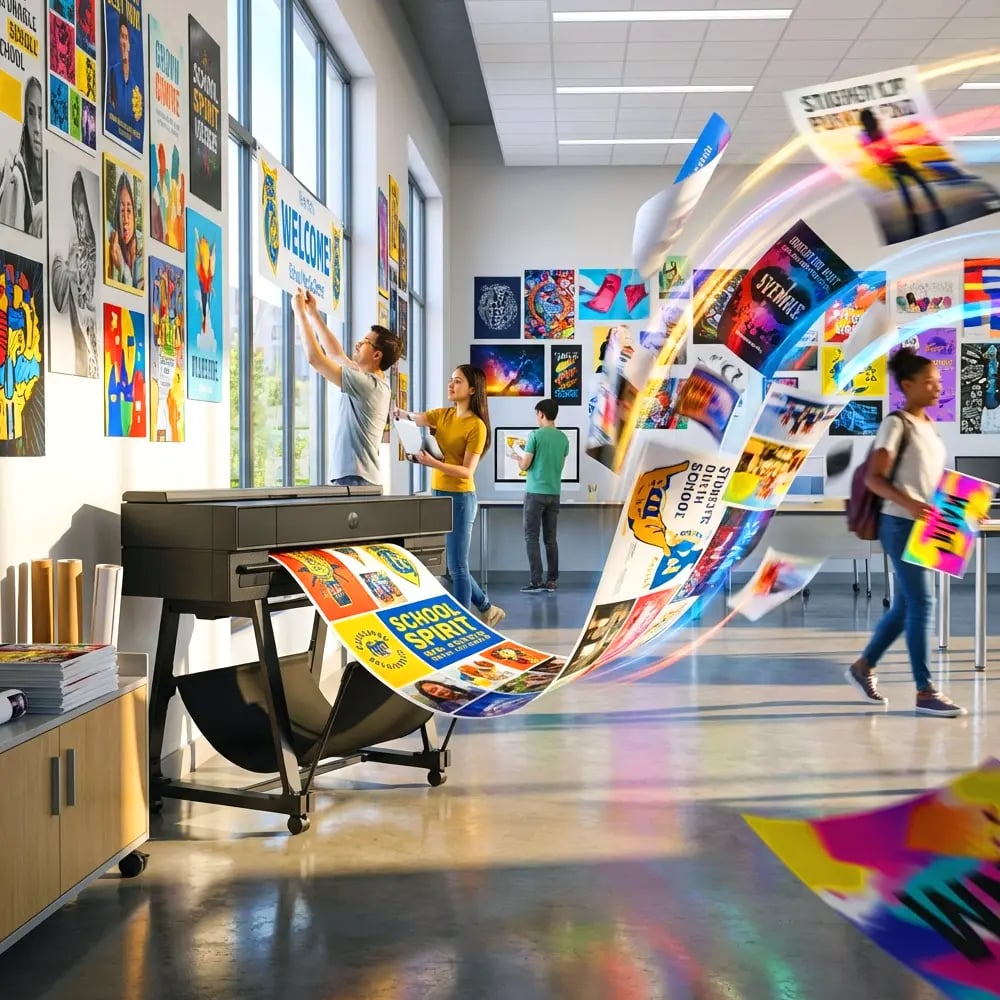
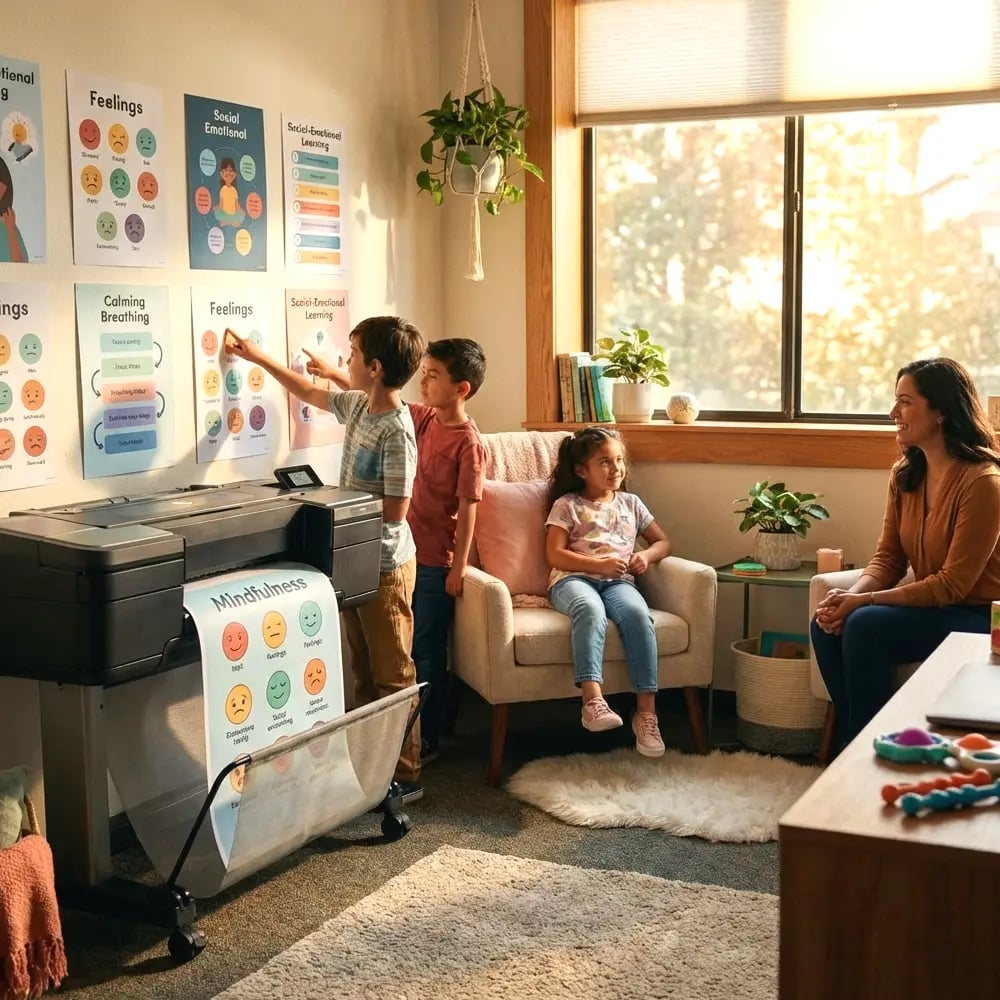
Beyond Basic Posters: Creative Applications
Once you master the basic three-step system, endless possibilities emerge. Teachers across our network share innovative uses daily:

Student Timelines
Personal history projects become hallway exhibitions

Giant Math Manipulatives
Scan and enlarge fraction circles for whole-class lessons

Collaborative Word Walls
Students design vocabulary cards that become permanent displays
Making the Investment Work
Understanding the true value of banner printing machines goes beyond the initial poster machine price. Consider these factors when evaluating your options:
Nationwide Trust
Warranty Coverage
Support Included
Next-Day Service
The lifetime design service alone transforms teaching efficiency. Last month, I sent a rough sketch for our spring concert poster at 3 PM. By the next morning, a professional design waited in my inbox, ready to print. No AI-generated generic templates – real designers who understand educational needs.
For schools comparing options, remember that the lowest poster machine price rarely delivers the best value. Those big-box deals often lack supplies, software, and support. You’ll spend more in the long run on ink, paper, and troubleshooting time. Our complete packages include everything needed to start printing immediately, plus training that ensures every staff member feels confident using the system.
Your Next Steps
Ready to transform messy desks into display-ready galleries? Start with one student project this week. Follow the three steps, celebrate the result, and watch enthusiasm spread like watercolor on wet paper.
Need guidance choosing the right system for your school?
Join 4,200+ schools already creating magic with their poster systems. Your students’ artwork deserves to be seen – let’s make it happen together!