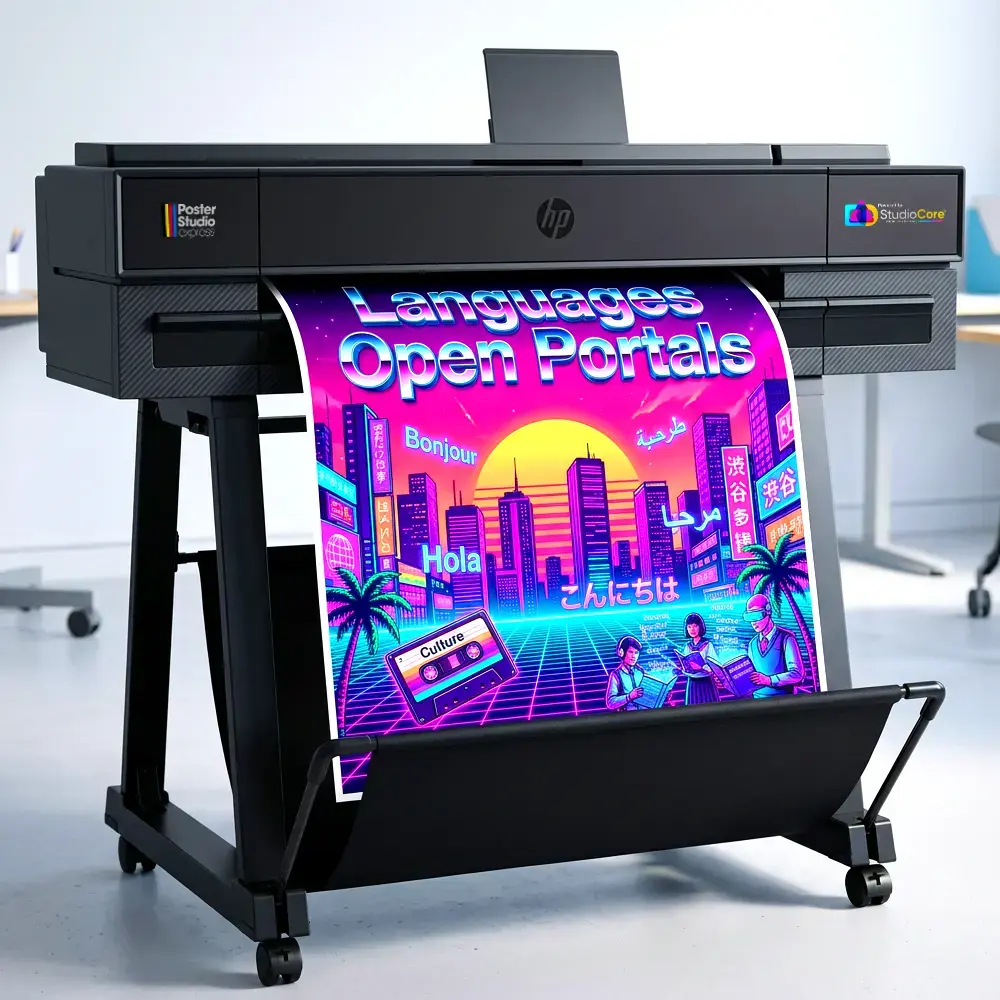
Picture this: it’s 6 AM on your first day, and you’re standing in an empty classroom with a coffee in one hand and a stack of ideas in the other. That was me last August, fresh out of student teaching and suddenly responsible for twenty-six first graders in a rural Title I school. My saving grace? A visual classroom management system that I built using our school’s poster printing for teachers survival kit.
Building Your Visual Management Foundation
Let me be real with you—those Pinterest-perfect classrooms you see online aren’t always practical for a busy first-year teacher. Instead, I focused on creating visuals that actually worked. Research from the Journal of Educational Psychology shows that students process visual information 60,000 times faster than text alone. Therefore, I knew my visual system needed to be the backbone of classroom management.
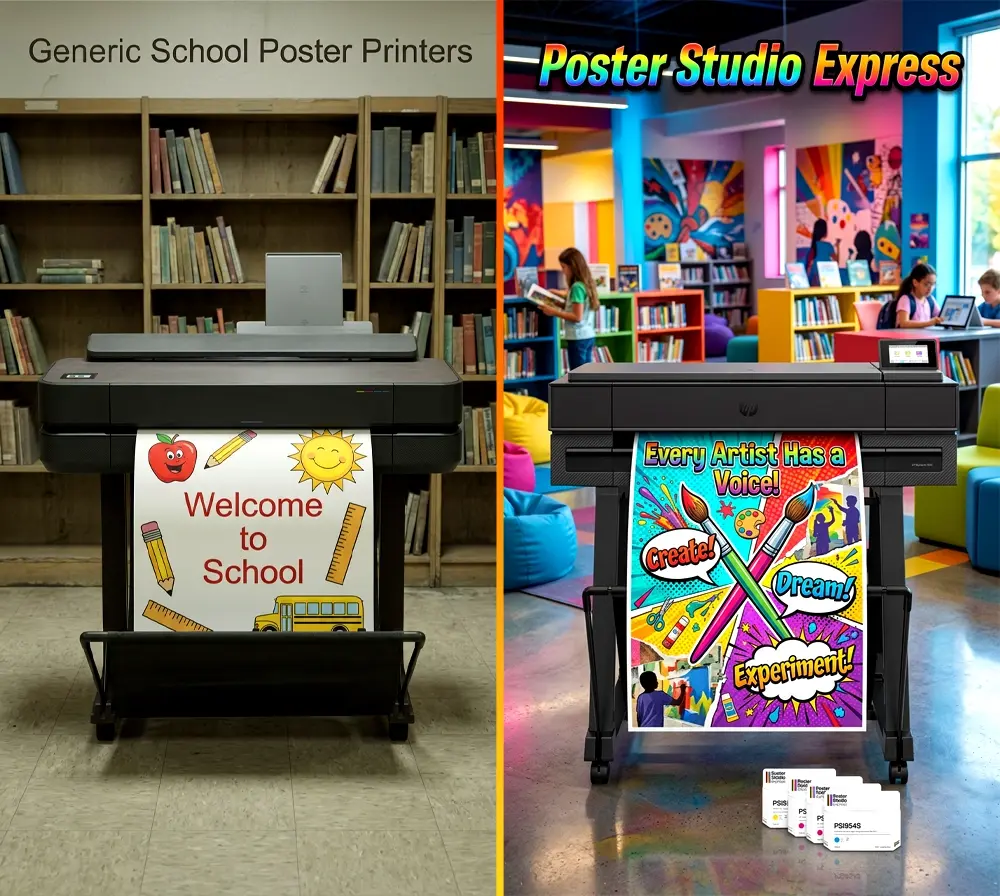
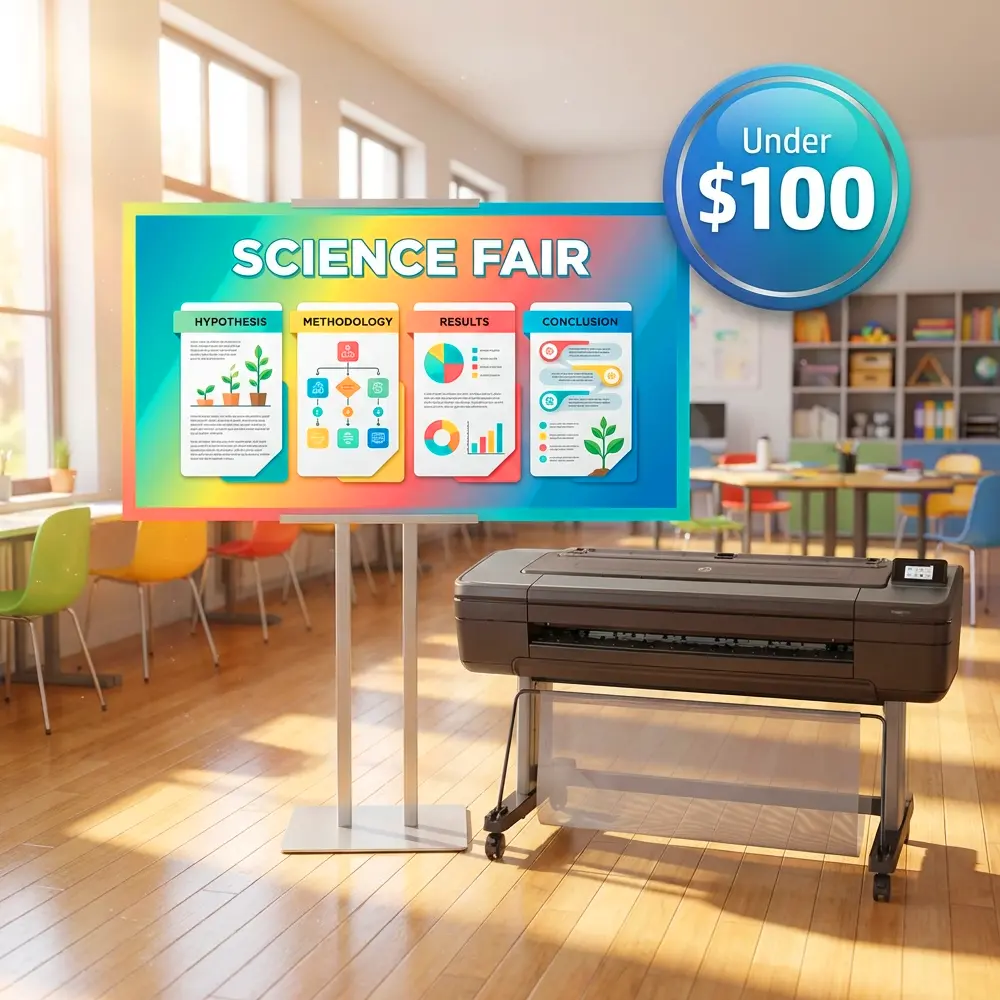
During my first week, I created five essential posters using our school’s poster maker machine. First came our morning routine chart with picture cues for unpacking, turning in homework, and starting morning work. Next, I designed a voice level chart using traffic light colors—something my little ones instantly understood. Then came our classroom jobs display, behavior expectations poster, and daily schedule with moveable pieces.

Week-by-Week Implementation Timeline
Here’s what actually worked for rolling out my visual system without overwhelming myself or my students:
Week 1: Establish the Essentials
Start with just three visuals: daily schedule, voice levels, and basic classroom rules. Furthermore, introduce one poster each day during morning meeting. Practice using them constantly—I probably referenced our voice level chart fifty times that first day!
Week 2: Add Interactive Elements
This is when I introduced our behavior management system. Using the Education Express 24″ Package A, I created a “Caught Being Kind” display where students could move their clips up for positive behaviors. Meanwhile, I also added our classroom jobs chart with photos of each student.
Week 3: Expand Academic Supports
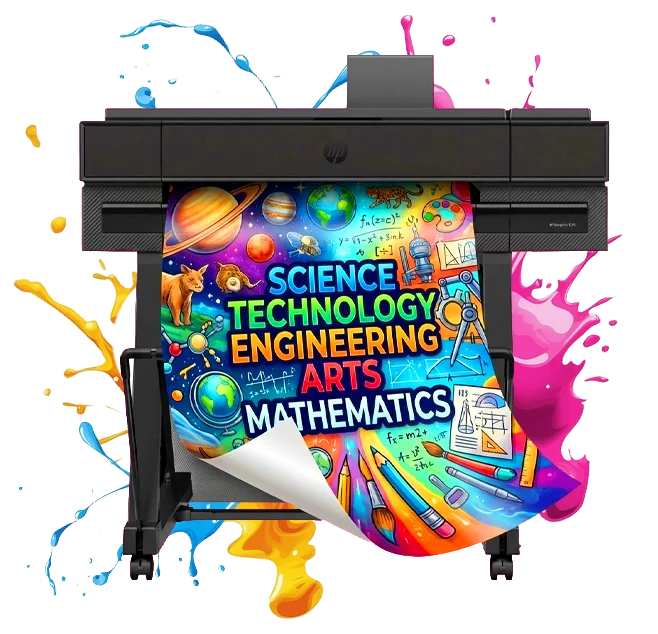
Now that routines were settling, I added subject-specific visuals. Math strategies posters went up near our number line. Additionally, reading corner got anchor charts for our first phonics patterns. Writing center received a “How to Write a Sentence” visual guide with examples from our morning messages.
Week 4: Fine-Tune and Personalize
By week four, I knew which visuals my students actually used versus which were just decoration. Subsequently, I removed the clutter and added personalized elements like our class mission statement (which we wrote together) and student work displays.
Essential Visual Tools That Actually Work
After trial and error (emphasis on error), these are the visual tools that transformed my classroom management:
The Magic of Visual Schedules
My visual schedule became our classroom’s GPS. Using coated poster paper for durability, I created cards for each subject with both words and pictures. For instance, math time showed numbers and manipulatives, while reading featured books and comfy chairs. Students with anxiety especially benefited from seeing what came next.
According to research from NAEYC, visual schedules reduce transition time by up to 50% in primary classrooms. In my experience, this was absolutely true. Transitions that used to take ten minutes now happened in three.
Behavior Management That Builds Community
Instead of traditional clip charts that can shame students, I created a “Growth Garden” system. Each child had a flower that could grow throughout the day by earning petals for kindness, effort, and improvement. At the same time, everyone started fresh each morning—no carrying yesterday’s struggles into today.
The key was making it visual AND positive. Using our poster maker machine, I printed motivational phrases like “Mistakes help us grow” and “Every day is a fresh start” in kid-friendly fonts. These weren’t just decorations; we referenced them constantly during teachable moments.
Routine Posters That Teach Independence
My biggest first-year challenge was repeating the same directions endlessly. “How do we line up?” “What do we do when we’re finished?” Creating routine posters saved my sanity and built student independence.
For example, our “Finished Early?” poster showed five options with pictures:
1. Read quietly (book icon)
2. Practice math facts (number cards)
3. Write in journal (pencil and paper)
4. Help a friend (two stick figures)
5. Choose from quiet bin (puzzle piece)
Creating Your Visual Toolkit on a Budget
First-year teacher salaries are real, friends. Here’s how I maximized our school’s poster printing resources without breaking my personal bank:
Strategic Poster Planning
Before sending anything to print, I sketched layouts on regular paper. This prevented waste and helped me think through actual classroom placement. Moreover, I batched my printing—creating multiple posters during planning periods saved time and materials.
Multi-Purpose Designs
Smart visual tools serve multiple functions. My number line doubled as a measurement tool for science. Alphabet cards included sign language, supporting our inclusion goals. Calendar pieces taught patterns during math time. This approach meant fewer posters but more learning opportunities.
Collaborative Creation
Partner with grade-level teammates to share the workload. We divided subjects and each created posters for our specialty area. Then we all printed copies using the school’s lifetime design service. This gave us professional-quality visuals without anyone feeling overwhelmed.
Troubleshooting Common First-Year Challenges
Let’s talk about what doesn’t work—because failure teaches us too. My first behavior chart was too complicated. Students couldn’t remember what each color meant, and I spent more time explaining than teaching. After simplifying to just three levels (green, yellow, red) with clear picture cues, behavior discussions became quick and effective.
Another mistake was poster overload. By October, my walls looked like a visual explosion. Students couldn’t focus on important information among the clutter. Following advice from Cult of Pedagogy’s research on classroom walls, I removed 40% of my displays. Surprisingly, student engagement with remaining visuals increased.
When Technology Meets Traditional
While I love our poster maker machine for creating crisp, professional visuals, some elements work better as changeable displays. For instance, I use a small whiteboard for our daily learning targets. This allows flexibility while maintaining the visual support structure.
I also learned to involve students in creating certain displays. When we made our classroom promises together and I printed them as a poster, buy-in skyrocketed. They felt ownership because they helped create the visual reminder.
Self-Care Through Organization
Here’s something they don’t tell you in teacher prep—good classroom organization is self-care. When your visual systems run smoothly, you spend less energy on management and more on actual teaching. Subsequently, you go home less exhausted.
I keep a “poster idea journal” where I sketch future visuals during quiet moments. This prevents the Sunday night panic of realizing you need new materials for Monday. Additionally, I schedule monthly “visual refresh” sessions to update displays and remove outdated content.
Building Your Digital Template Library
One game-changer was creating reusable templates for common poster types. Using simple design software, I made base templates for:
– Weekly newsletters
– Student celebration certificates
– Center rotation signs
– Subject-area anchor charts
– Parent communication boards
Having these templates ready means I can quickly customize and print new materials using our poster printing for teachers system without starting from scratch each time.
Looking Ahead: Sustainable Systems
As my first year progressed, I learned that the best visual systems are living documents. They grow and change with your class’s needs. What works in September might need tweaking by January. That’s not failure—that’s responsive teaching.
For example, my morning routine poster evolved three times. First version had eight steps (too many). Second version had pictures my rural students couldn’t relate to. Third version, created with student input, used photos from our actual classroom. Finally, we had a winner!
Your Action Plan
Ready to build your own visual management system? Here’s your week-one survival checklist:
1. Identify your top three management challenges – What directions do you repeat most?
2. Sketch simple solutions – Pictures speak louder than words for young learners
3. Start small – Three to five posters maximum for week one
4. Involve students – Let them help decide where posters go
5. Schedule regular reviews – Set monthly calendar reminders to assess what’s working
Remember, perfection isn’t the goal—progress is. Every visual tool you create is one less thing to explain verbally fifty times a day. Furthermore, when students can self-manage using visual cues, you free yourself to actually teach.
As I write this from my now-organized classroom (where students independently follow our visual routines), I promise you—it gets easier. That poster printing for teachers survival kit isn’t just about pretty walls. Instead, it’s about creating systems that support both you and your students through this incredible, exhausting, rewarding journey.
Start simple. Stay consistent. Trust the process. Before you know it, your visual management system will be running so smoothly that veteran teachers will be asking for your secrets. Most importantly, you’ll have more energy for what matters most—building relationships with those little humans who make this job worth every moment.