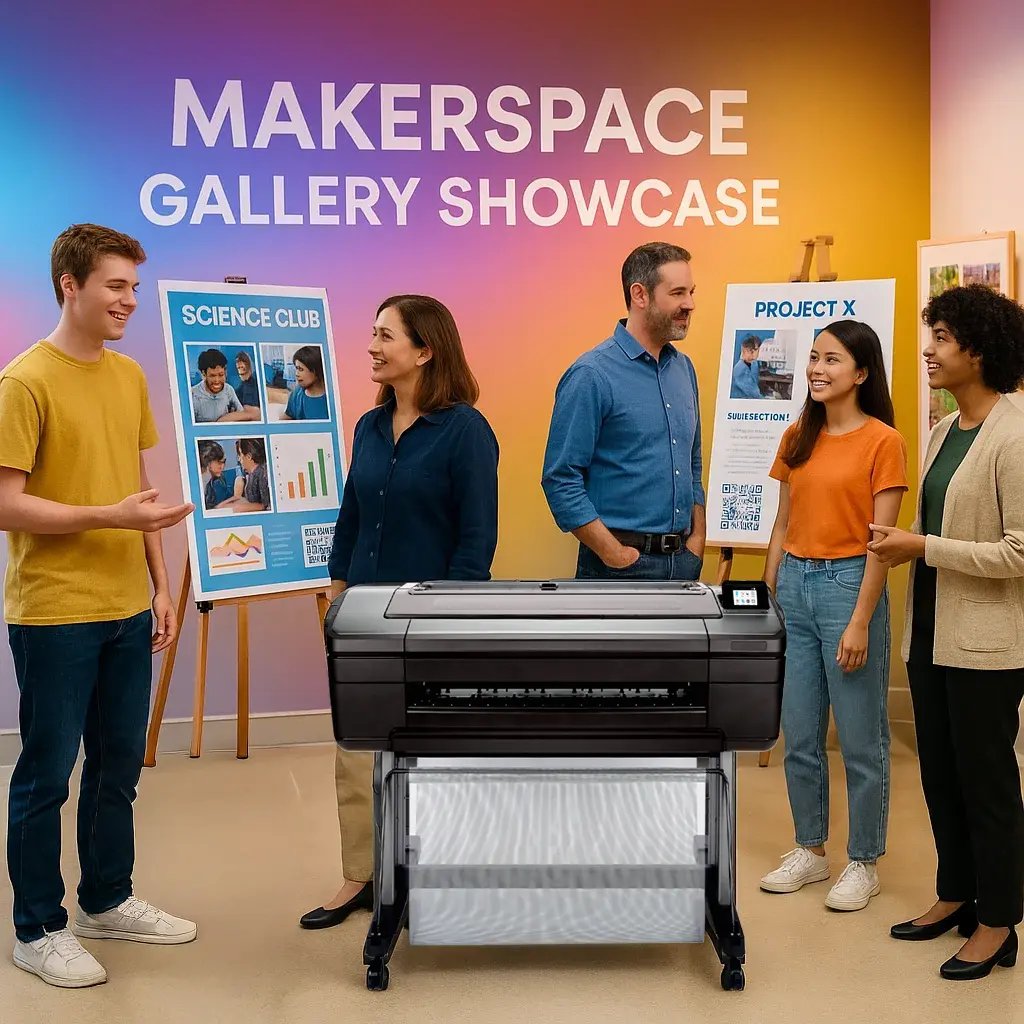

The Makerspace Revolution: Creating Professional Portfolio Displays
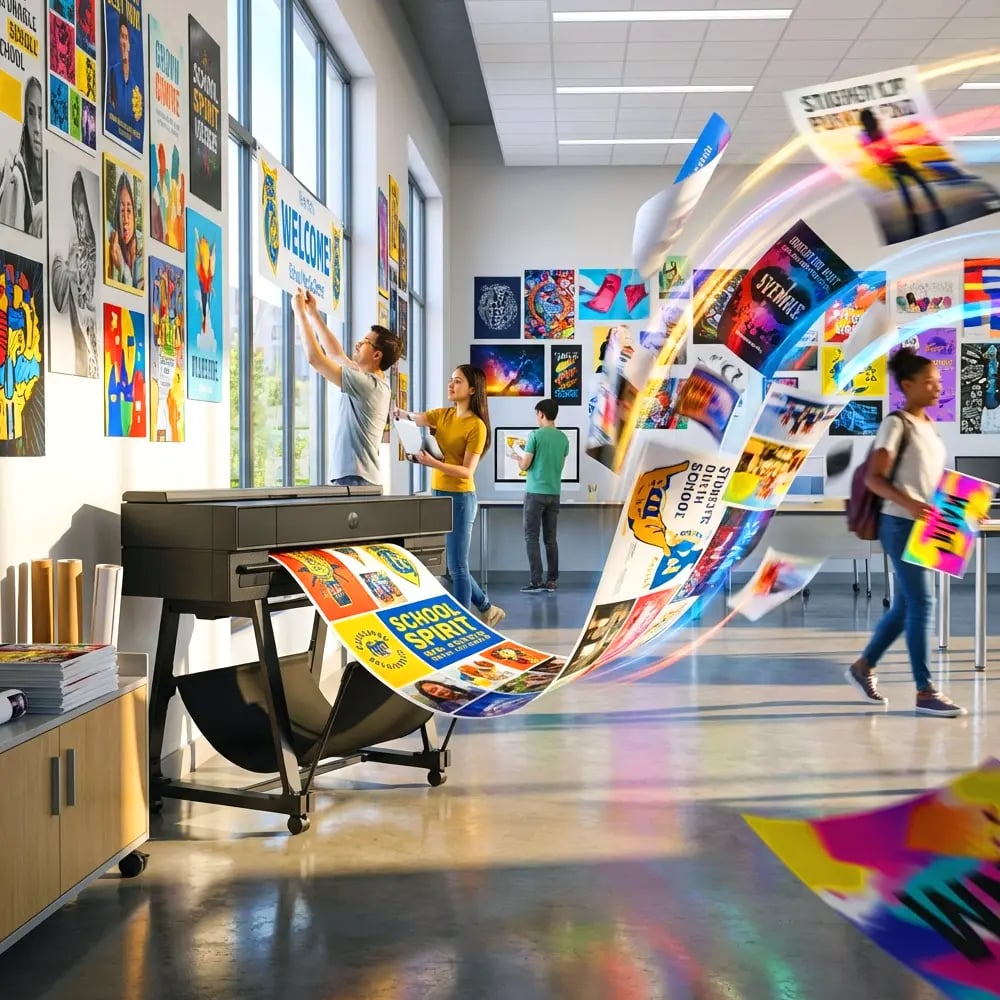
Picture this: Your makerspace buzzes with entrepreneurial energy as students transform raw ideas into tangible innovations. Yet when college recruiters or local business mentors visit, those brilliant projects sit scattered across workbenches, their stories untold. That’s where poster printers for schools portfolio displays become game-changers—turning student maker projects into gallery-worthy exhibitions that command attention and open doors.
Why Poster Printers for Schools Portfolio Displays Matter
As a library media specialist who’s transformed our makerspace into a launching pad for student entrepreneurs, I’ve witnessed firsthand how professional presentation elevates student work. Last spring, one of our eighth-graders secured a summer internship with a local engineering firm—not just because of her robotics project, but because her portfolio display caught the CEO’s eye during our STEM showcase.
The shift from handwritten poster boards to professional displays created with color poster maker machines has revolutionized how we present student achievements. Moreover, these displays serve multiple purposes: they document learning journeys, attract community partnerships, and build students’ confidence in presenting their work professionally.
Research from the National Science Teaching Association shows that students who create visual portfolios of their work demonstrate 40% better retention of concepts and significantly higher engagement in future projects. Furthermore, when students see their work displayed professionally, they begin to view themselves as real makers and entrepreneurs—not just kids tinkering in a classroom.

Student entrepreneurs showcase innovation through professional displays
The Gallery-Quality Display Framework
Photography Tips for Stunning Portfolio Displays
Creating gallery-quality displays starts with exceptional photography. After years of helping students document their maker projects, I’ve developed a simple system that consistently produces professional results—even with smartphone cameras.
Lighting is Everything
Natural light from north-facing windows provides the most flattering illumination for project photography. Position projects at a 45-degree angle to the window, using white poster board as a reflector to fill shadows. For consistent results, we created a portable photo station using materials from our mounting supplies.
The Three-Shot Method
Every portfolio display should include three essential photographs:
Background Matters
Invest in seamless paper backgrounds in neutral colors. Our poster printer systems allow us to print custom backgrounds that complement each project’s aesthetic.
Process Documentation
Encourage students to photograph their work at every stage. These progress shots become powerful storytelling elements when arranged chronologically on their display boards.
Portfolio Display Impact by the Numbers
Students report increased confidence presenting professionally displayed work
Increase in community partnership inquiries after showcase events
College recruiters request digital portfolio access via QR codes
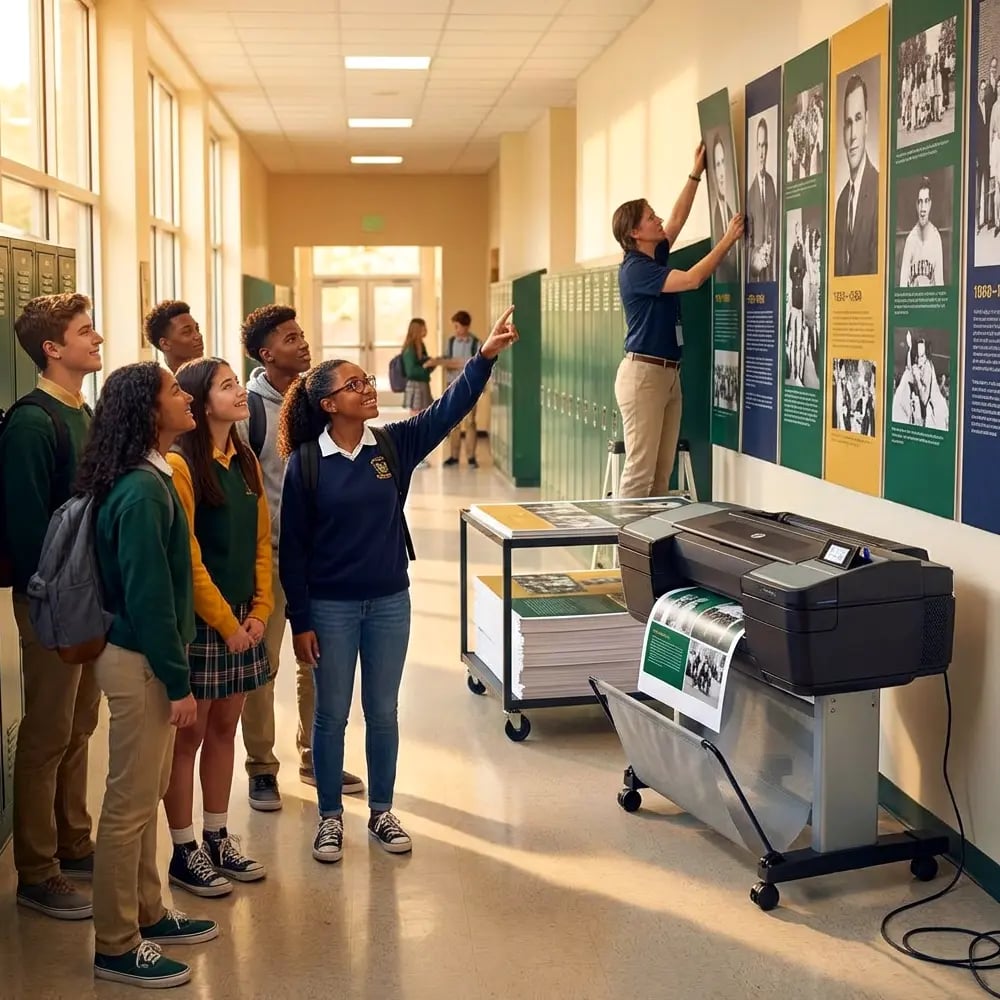
Professional Mounting Techniques That Impress
The difference between amateur and professional displays often comes down to mounting technique. Through trial and error (and advice from our local art museum’s education director), we’ve perfected a system that transforms student work into exhibition-ready presentations.
The Foundation: Choosing the Right Materials
Start with acid-free mounting boards in neutral colors. While white remains classic, we’ve found that subtle grays and deep blacks can dramatically enhance certain projects. Our color poster maker machine enables us to print custom matting designs that complement individual projects perfectly.
Essential Mounting Supplies
• Acid-free mounting adhesive
• T-square and cutting mat
• Bone folder for crisp edges
• Corner rounder punch
• Archival photo corners
• Foam spacers for dimension
• Professional mat cutter
• White cotton gloves
The Gallery Float Technique
This museum-inspired technique creates visual depth:
1. Mount primary image on foam core
2. Add 1/4″ border using mat board
3. Create shadow box effect with spacers
4. Layer supporting images at angles
5. Include typed project descriptions
6. Add QR code discretely in corner
QR Codes: Bridging Physical and Digital Portfolios
The magic happens when physical displays connect seamlessly to digital portfolios. Each display board includes a professionally designed QR code that links to the student’s expanded online portfolio.
Creating Effective Digital Extensions:
• Video demonstrations of projects in action
• Detailed process documentation with reflections
• CAD files and coding repositories
• Testimonials from test users or mentors
• Links to related research and iterations
• Contact information for interested parties
Creating Your Makerspace Gallery Experience
Planning
Layout Strategy
Map display locationsConsider traffic flow
Plan lighting needs
Schedule setup time
Production
Print Process
Design layoutsPrint displays
Mount projects
Add QR codes
Installation
Setup Tips
Level all displaysSecure mounting
Test QR links
Adjust lighting
Showcase
Event Day
Welcome guestsGuide tours
Facilitate networking
Capture feedback
Success Stories from Our Makerspace Gallery
The impact of professional portfolio displays extends far beyond our school walls. Here are just a few transformative outcomes from the past year:
Earned full scholarship to engineering camp after recruiter saw her display
Local tech startup offered mentorship after viewing QR-linked portfolio
Won state competition partly due to professional presentation quality
Implementation Timeline: From Vision to Gallery Opening
Transforming your makerspace into a professional gallery doesn’t happen overnight. Based on our experience hosting quarterly showcases, here’s a realistic timeline that ensures success while maintaining educational momentum.
Week 1-2: Foundation Setting
Begin by identifying your showcase date and working backward. Survey students to determine which projects they’d like to feature. Our lifetime design service can help create consistent templates that maintain professional standards while allowing individual creativity.
Week 3-4: Photography Sprint
Schedule photography sessions during optimal lighting conditions. We dedicate two class periods to teaching proper photography techniques, then allow students to photograph their projects independently. The investment in teaching these skills pays dividends—students use them throughout their academic careers.
Week 5-6: Design and Print Production
This is where poster printers for schools truly shine. Students design their displays using our drag-and-drop software, incorporating their photographs, project descriptions, and QR codes. The ability to print and revise quickly means students can perfect their presentations without stress.
Week 7: Mounting and Installation
Transform your space into a professional gallery. We’ve found that creating distinct zones—robotics corner, sustainable design wall, app development station—helps visitors navigate while showcasing the breadth of student innovation.
Week 8: Showcase and Celebration
The culmination of hard work deserves proper celebration. Send professional invitations (printed on your poster maker, naturally), prepare student elevator pitches, and ensure every young entrepreneur feels ready to shine.
Ready to Transform Your Makerspace?
Join thousands of schools creating gallery-quality student portfolios with Poster Studio Express
Your Gallery Success Toolkit
Creating professional portfolio displays requires the right tools, techniques, and vision. Through years of refinement, we’ve discovered that success comes from combining quality equipment with thoughtful planning and student ownership of the process.
Remember, every professional designer started as a student with big dreams. By providing the tools and framework for gallery-quality presentations—through cost-effective printing solutions and professional mounting techniques—we empower students to see themselves as capable creators and entrepreneurs.
The transformation I’ve witnessed in our makerspace goes beyond improved aesthetics. Students who once hesitated to share their work now confidently present to community leaders. Parents tear up seeing their children’s innovations displayed professionally. Most importantly, local businesses and colleges actively seek out our students because they’ve seen the caliber of work produced in our makerspace gallery.
Your students’ innovations deserve to be seen, celebrated, and shared with the world. Professional portfolio displays make that possible, opening doors to opportunities that might otherwise remain closed. Whether you’re showcasing a single standout project or creating a comprehensive makerspace gallery, the principles remain the same: respect the work, elevate the presentation, and watch as students rise to meet heightened expectations.
Ready to elevate your students’ work to gallery status? The journey from makerspace to showcase starts with a single decision to invest in professional presentation. Your student entrepreneurs are waiting to shine.