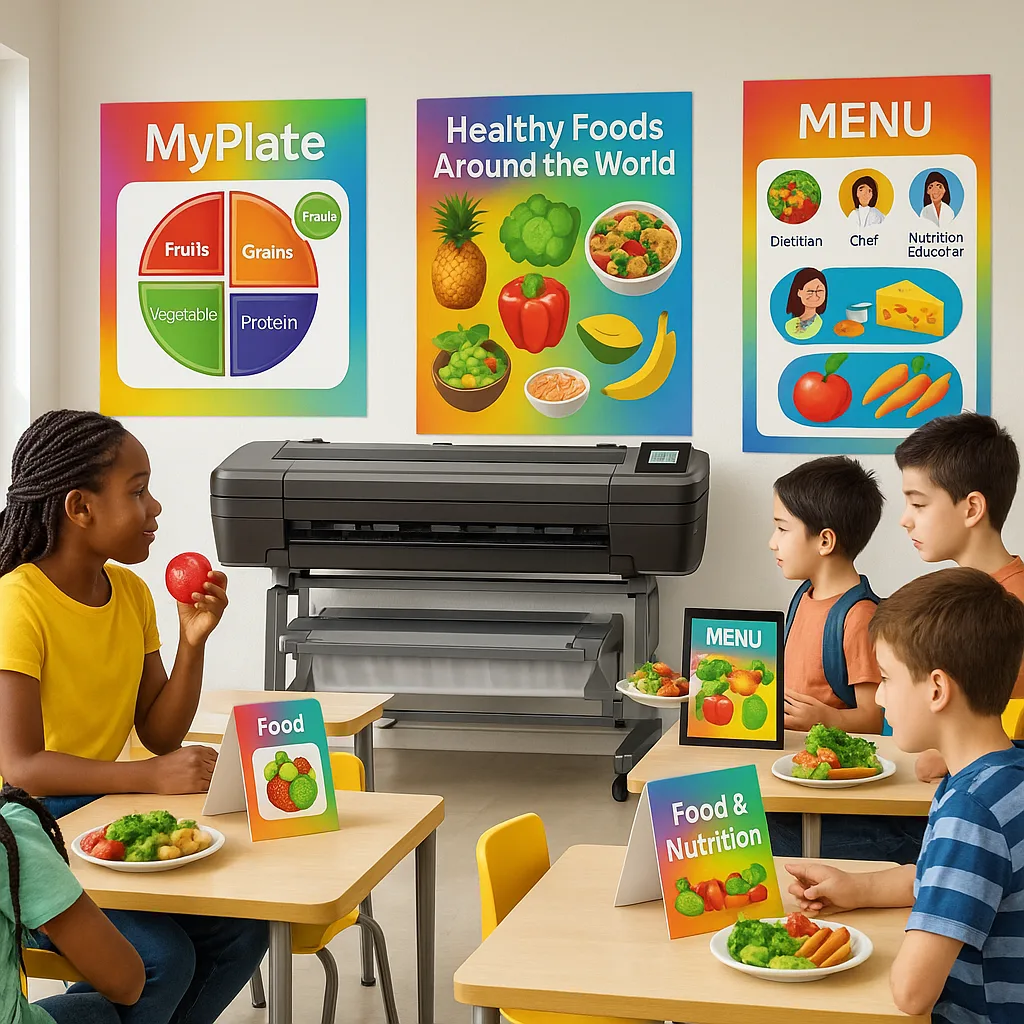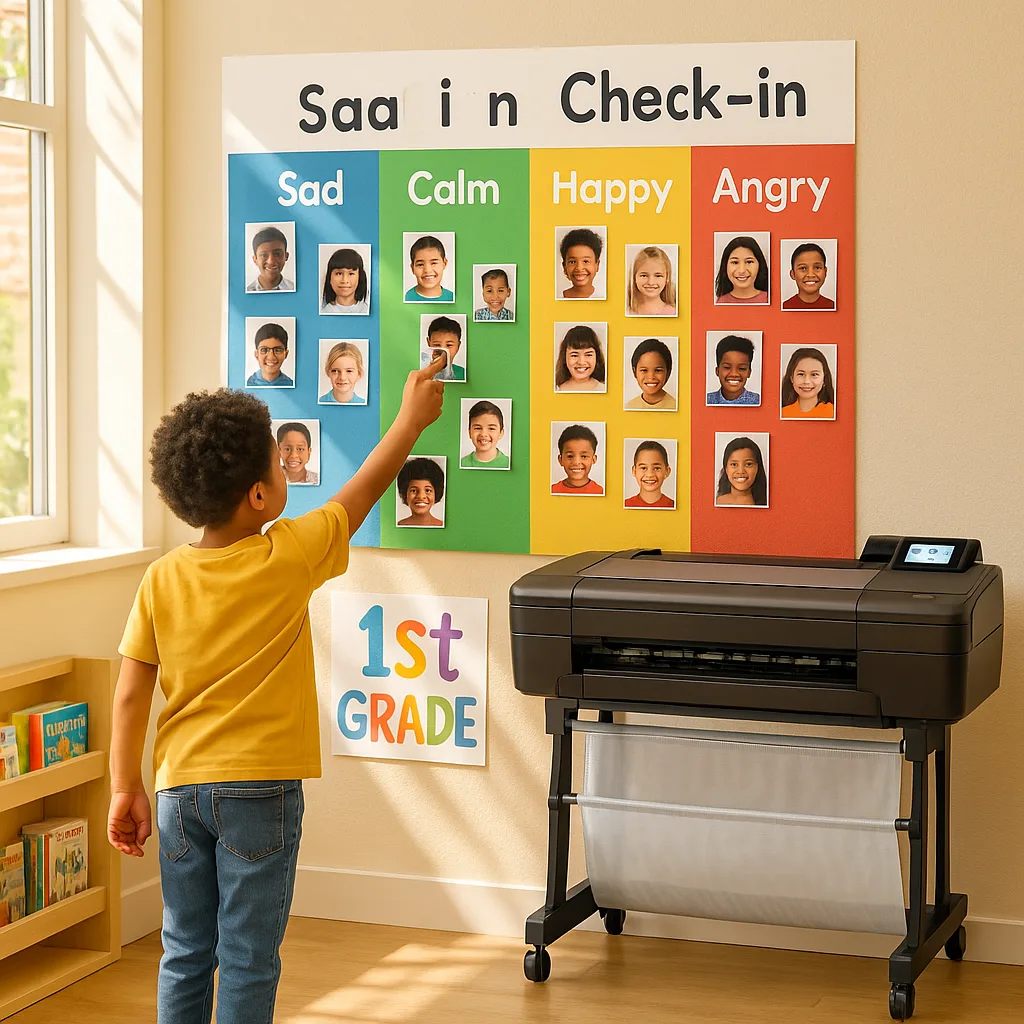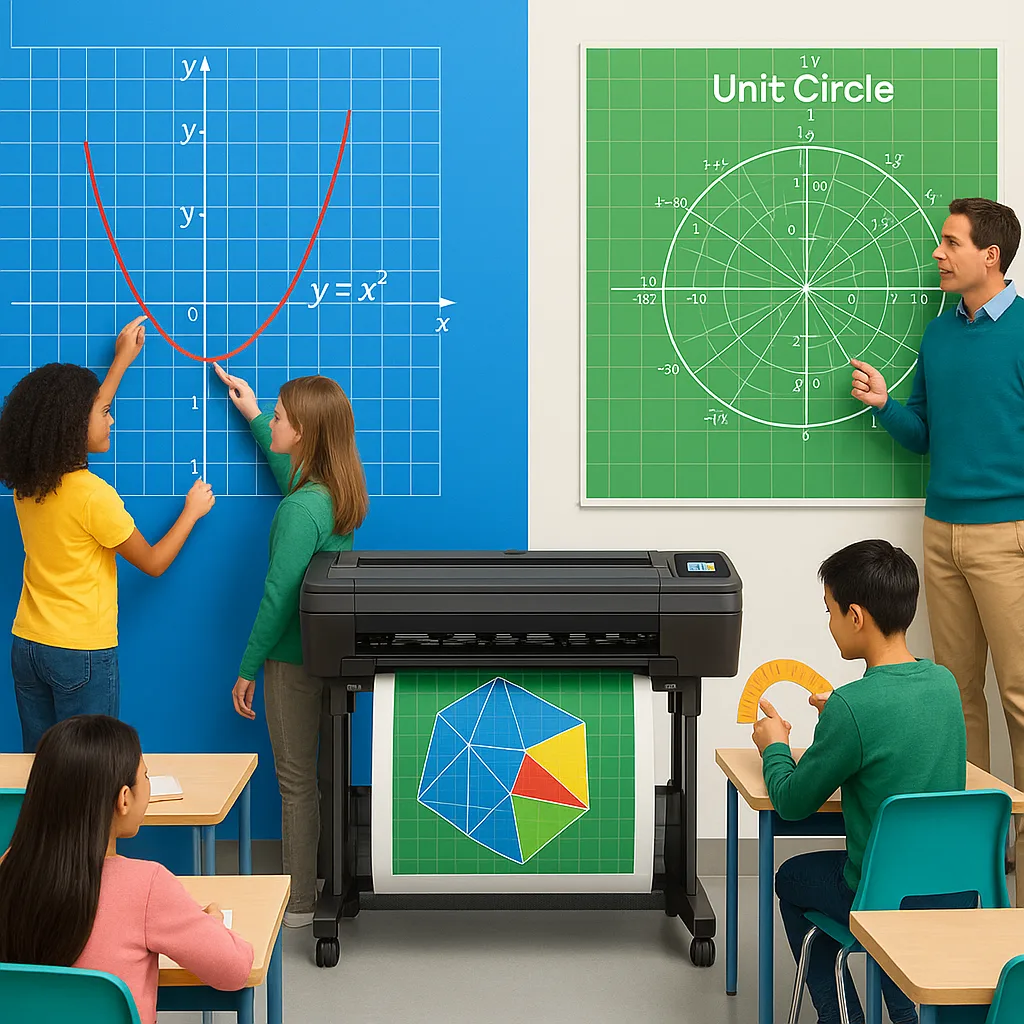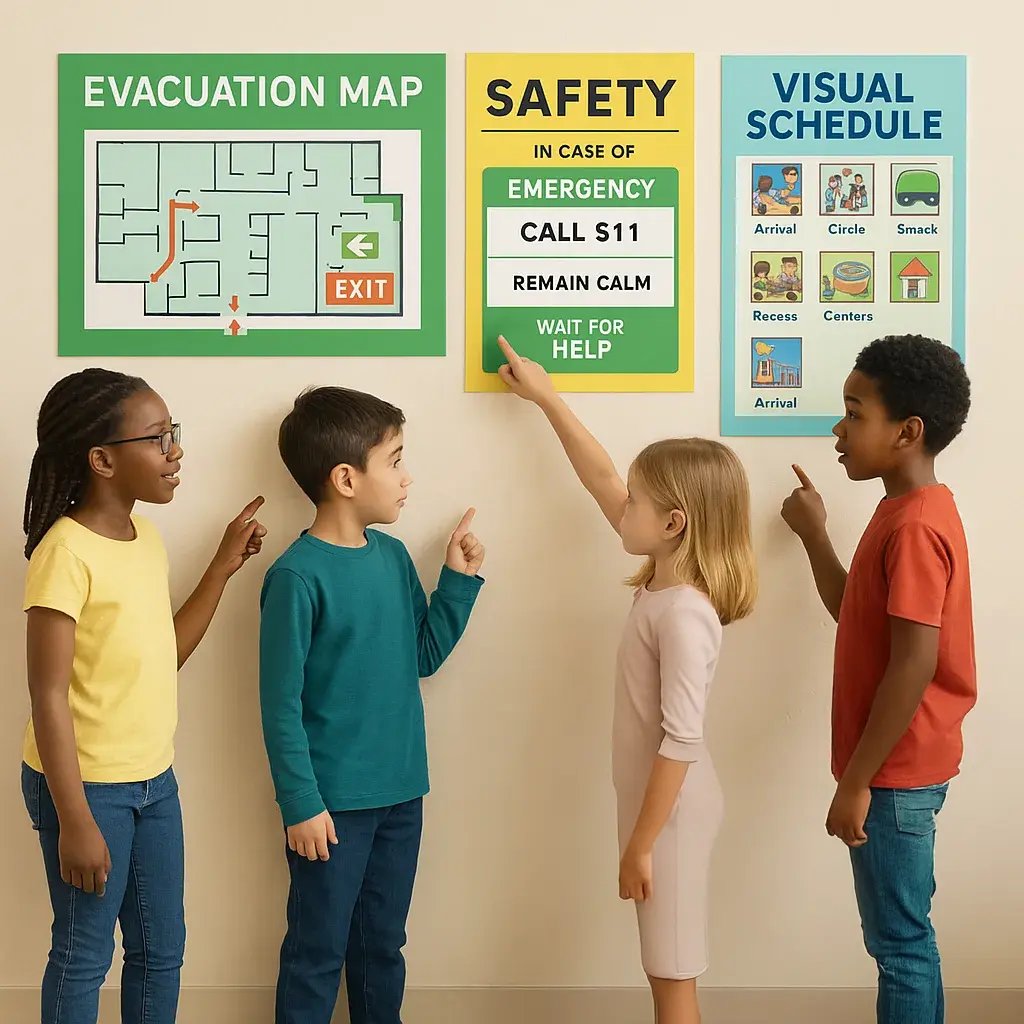
Picture this: the fire alarm blares, and within seconds, every student knows exactly where to go—not just through sound, but through clear visual cues that work for everyone. That’s the power of having poster printers for schools emergency readiness systems in place.
Last Tuesday, my principal asked me to lead our emergency preparedness committee. “We need something that works for all our kids,” she said, handing me a stack of outdated evacuation maps. Looking at our diverse classroom—with three ELL students, two children with sensory processing differences, and one student who uses AAC devices—I knew we needed more than just standard signage.
Why Visual Emergency Systems Matter More Than Ever
Creating inclusive emergency communication isn’t just about compliance; it’s about ensuring every child feels safe and knows what to do when seconds count. Recent research from the National Center for Education Statistics shows that 14% of public school students receive special education services, while 10.2% are English Language Learners. Traditional audio-only emergency systems leave these students vulnerable.
When I started researching solutions, I discovered that visual communication reduces evacuation time by up to 40% in elementary settings. More importantly, it provides multiple access points for understanding—crucial when stress levels spike during emergencies.
The beauty of using a classroom poster maker lies in its flexibility. Within hours, you can create customized materials that address your specific school’s layout, population, and unique needs. No more waiting weeks for district-approved generic signage that doesn’t quite fit your building’s quirks.
Building Your Rapid-Response Visual System with Poster Printers for Schools Emergency Readiness
Let me walk you through the 48-hour timeline I developed after countless conversations with our safety officer, special education team, and ELL coordinator. This system transformed our emergency preparedness from reactive to proactive.
Day One Morning: Assessment and Planning (Hours 1-6)
First, grab your phone and walk every evacuation route in your building. Document areas where students typically bottleneck, spaces with poor lighting, and zones where sound doesn’t carry well. I discovered our gym’s echo made verbal instructions nearly impossible to understand—a critical finding that shaped our visual strategy.
Next, create an inventory of student needs. Our spreadsheet included:
– Primary languages spoken (we had seven!)
– Visual processing considerations
– Mobility requirements
– Sensory sensitivities
– Cognitive processing speeds
This data directly informed our design choices. For instance, knowing that 30% of our students process visual information faster than auditory cues validated our investment in comprehensive visual systems.
Day One Afternoon: Design and Creation (Hours 7-12)
Here’s where poster printers for schools truly shine. Using the Education Express 36 Poster Printer, we created:
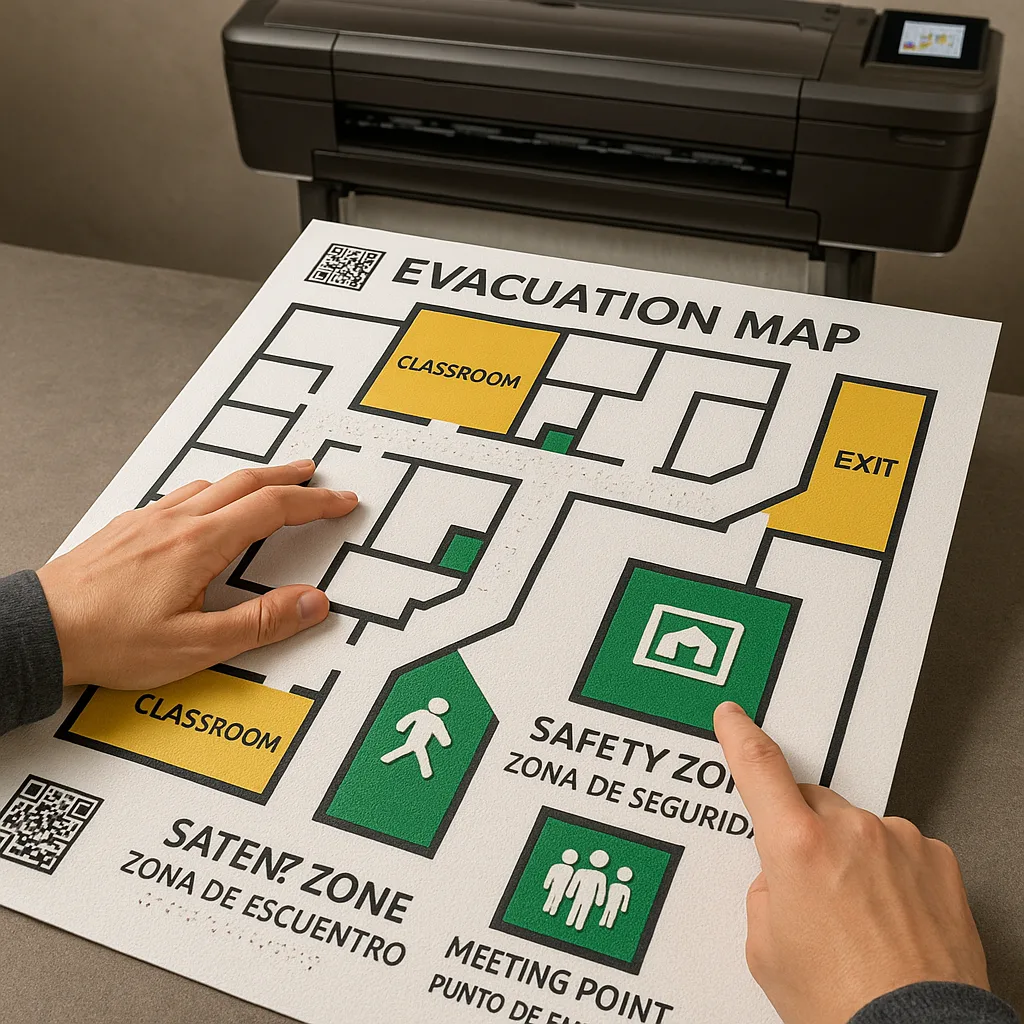
Multi-Sensory Evacuation Maps
– High-contrast colors (avoiding red-green combinations for colorblind students)
– Tactile elements using Satin Photo Paper with raised pathways
– Universal symbols paired with text in three languages
– QR codes linking to video demonstrations in ASL
Zone-Specific Safety Cards
Each classroom received laminated cards showing:
– Primary and secondary exit routes
– Designated meeting points with photo landmarks
– Simple, numbered steps using both icons and words
– Calm-down strategies for anxiety management
The Lifetime Design Service proved invaluable here. When I sent our rough sketches, their designer returned professional layouts that incorporated evidence-based color psychology—blue for calm zones, yellow for caution areas, and green for safety points.
Day Two Morning: Strategic Placement (Hours 13-18)
Placement psychology matters immensely in emergency situations. Research from the Journal of School Safety indicates that visual cues placed at child eye-level increase retention by 60%. Armed with this knowledge, we installed materials at three heights:
– 3 feet for early elementary
– 4.5 feet for upper elementary
– Adult height for staff reference
Critical locations included:
– Every classroom door (inside and outside)
– Hallway intersections
– Stairwell landings
– Bathroom stalls (yes, emergencies don’t wait!)
– Cafeteria walls
– Specialty spaces (library, gym, music room)
Creating Inclusive Emergency Materials
Addressing Language Barriers
Our ELL population speaks Spanish, Arabic, Mandarin, French, Tagalog, Russian, and Hindi. Instead of cramming seven languages onto one poster, we developed a symbol-first approach with multilingual QR code support. The Education Studio 44 Poster Maker allowed us to print large-format universal symbol guides that transcended language entirely.
Key design principles:
– Icons precede text
– Color coding remains consistent
– Directional arrows use culturally neutral symbols
– Numbers provide universal sequencing
Supporting Sensory Processing Differences
For students with sensory sensitivities, traditional alarms can trigger panic rather than purposeful action. Our visual system included:
Sensory-Friendly Alert Zones
Using the classroom poster maker, we created “quiet alert” stations featuring:
– Soft blue backgrounds to reduce visual stress
– Minimal text with maximum white space
– Velcro strips for tactical input
– Social stories depicting calm evacuation
Visual Schedules for Emergency Procedures
Breaking down “evacuate” into digestible steps:
1. Stop working (hands icon)
2. Look at teacher (eyes icon)
3. Line up quietly (children in line icon)
4. Walk to door (footsteps icon)
5. Follow green arrows (arrow icon)
Accommodating Physical and Cognitive Differences
Every emergency plan must account for varied mobility and processing speeds. We developed:
Buddy System Visual Cards
Pairing students with complementary abilities, documented through:
– Photo cards showing buddy pairs
– Color-coded lanyards matching buddies
– Simplified maps highlighting accessible routes
– Wait-point markers for regrouping
Day Two Afternoon: Testing and Refining (Hours 19-24)
Theory meets reality during practice drills. We conducted three scenarios:
Scenario 1: Standard Fire Drill
The visual systems reduced evacuation time from 4 minutes 32 seconds to 3 minutes 15 seconds. More importantly, our anxiety-prone students remained notably calmer, following visual cues when auditory processing became overwhelming.
Scenario 2: Lockdown Procedure
Silent communication proved essential. Our visual cards showing “quiet voices,” “hidden spaces,” and “wait for all-clear” eliminated the need for verbal instructions that could compromise safety.
Scenario 3: Severe Weather
The poster printers for schools enabled us to create weather-specific guides showing:
– Tornado position illustrations
– Safe zones marked with glow-in-the-dark elements
– Comfort kit locations (sensory tools, first aid)
– Communication boards for non-verbal check-ins
Implementation Week: Days 3-7
Staff Training Integration
Even the best visual systems fail without proper staff understanding. We allocated specific training for:
Universal Design Principles
– Why certain colors were chosen
– How to reference materials during stress
– Supporting students who need extra processing time
– Maintaining calm through visual modeling
Technology Integration
Teaching staff to use the drag-and-drop features meant they could create situation-specific materials instantly. When our playground configuration changed, teachers updated evacuation routes within minutes.
Student Introduction
Rather than overwhelming students with all materials simultaneously, we introduced components gradually:
Monday: Classroom-specific evacuation maps
Tuesday: Buddy system cards
Wednesday: Universal symbols guide
Thursday: Practice with sensory-friendly materials
Friday: Full integrated drill
Parent and Community Communication
Visual systems extend beyond school walls. Using our classroom poster maker, we created:
– Take-home emergency guides matching school procedures
– Refrigerator magnets with key symbols
– Digital versions for family smartphones
– Community meeting point maps for reunion procedures
Maintaining and Updating Your System
Monthly Reviews
Set calendar reminders to assess:
– Faded or damaged materials (the Coated Poster Paper typically lasts 6-8 months in high-traffic areas)
– Student population changes requiring new translations
– Physical space modifications affecting routes
– Seasonal considerations (ice, construction, events)
Quarterly Drills with Variations
Rotate scenarios to maintain readiness:
– Different times of day (arrival, lunch, dismissal)
– Various weather conditions
– With substitute teachers present
– During special events or assemblies
Annual Overhauls
Each summer, dedicate time to:
– Photograph current materials for archives
– Gather feedback from staff and students
– Update designs based on lessons learned
– Prepare materials for incoming students
Measuring Success
After implementing our poster printers for schools emergency readiness system, we tracked several metrics:
Quantitative Results:
– Evacuation times decreased 28% overall
– 100% of special needs students successfully followed procedures independently
– Zero panic responses during drills (previous average: 3-4 per drill)
– Parent confidence surveys showed 95% satisfaction with emergency communication
Qualitative Observations:
– Teachers reported feeling more prepared
– Substitute teachers navigated emergencies successfully
– Students began using visual cues for non-emergency transitions
– Community partnerships strengthened through shared visual language
Troubleshooting Common Challenges
“We Don’t Have Budget for Color Printing”
Start with black and white high-contrast designs. The cost per print for basic emergency materials averages just $1.30-$1.50. When you consider potential liability and student safety, this investment pays for itself immediately.
“Our Building Is Too Complex”
Break large buildings into zones. Create zone-specific materials first, then connect them with consistent visual threads. The Education Flex 30 Poster Printer Cutter Package B excels at creating custom-shaped directional signage for complex layouts.
“Staff Seems Overwhelmed”
Phase implementation. Start with five essential posters:
1. Basic evacuation map
2. Universal symbols guide
3. Emergency contact information
4. Calm-down strategies
5. Buddy system assignments
Build from this foundation as comfort grows.
Beyond Compliance: Building Community Resilience
Creating comprehensive emergency visual systems does more than meet safety requirements—it builds community. When every member feels included in safety planning, trust deepens. Parents of special needs students particularly appreciate seeing their children’s specific needs addressed proactively.
Our visual systems have sparked conversations about accessibility throughout our school. Teachers now consider multiple communication modes for all activities, not just emergencies. The skills students develop reading visual emergency cues transfer to workplace readiness and civic engagement.
Your 48-Hour Action Plan
Ready to transform your school’s emergency preparedness? Here’s your blueprint:
Hours 1-6: Assess needs and gather data
Hours 7-12: Design and print core materials
Hours 13-18: Strategic installation
Hours 19-24: Initial testing and refinement
Hours 25-30: Staff training
Hours 31-36: Student introduction
Hours 37-42: Parent communication
Hours 43-48: Full system drill and debrief
Remember, perfection isn’t the goal—communication is. Start with basic materials and improve iteratively. The 5 Year Next Business Day Warranty ensures your investment remains protected as your system evolves.
Conclusion
Forty-eight hours ago, our emergency preparedness relied solely on audio announcements and outdated paper maps. Today, every student—regardless of ability, language, or processing differences—knows exactly what to do when safety matters most. That transformation happened because we embraced visual communication as a universal language.
Your classroom poster maker isn’t just a printer—it’s a lifeline that ensures no student gets left behind when seconds count. Whether you’re in a rural Title I school like mine or a bustling urban campus, visual emergency systems create inclusive safety nets that catch everyone.
Take that first walk through your building tomorrow morning. Notice where confusion might reign during chaos. Then imagine how different it could feel with clear, inclusive visual guidance at every turn. In just 48 hours, you can build that reality.
Because when the alarm sounds, every child deserves to know they’re seen, understood, and safe. Visual communication makes that promise real.

