pointing to a large, colorful visual schedule on the wall. The room features distinct learning stations")

Walking into Mrs. Rodriguez’s resource room last August felt like stepping into a storage closet—papers everywhere, mismatched furniture, and barely visible walls. Today, that same space hums with purpose, thanks to strategic visual systems created with our color poster maker machine for resource rooms. Every corner now serves a specific learning function, and her twelve students navigate independently between stations using bright, laminated visual guides.
Why Color Poster Maker Machines Transform Resource Rooms
Special education teachers face unique challenges in creating environments that support diverse learning needs. Research from the Council for Exceptional Children shows that students with learning differences process visual information 65% more effectively than text alone. This statistic drives the transformation happening in resource rooms nationwide, where teachers use poster-making technology to build comprehensive visual support systems.
The investment in a quality poster printer pays dividends through reduced prep time and increased student independence. Consider the typical resource room serving students with autism, ADHD, dyslexia, and emotional disabilities—each requiring different visual supports. Creating these materials by hand or ordering them online becomes expensive and time-consuming. With in-house printing capabilities, teachers customize materials instantly based on individual education plans (IEPs).

Essential Visual Systems for Resource Rooms
Behavior Improvement Students show reduced anxiety with visual schedules
Time Saved Weekly Teachers report saving 3+ hours on prep
Independence Growth Students navigate stations without prompting
Building Your Visual Schedule System
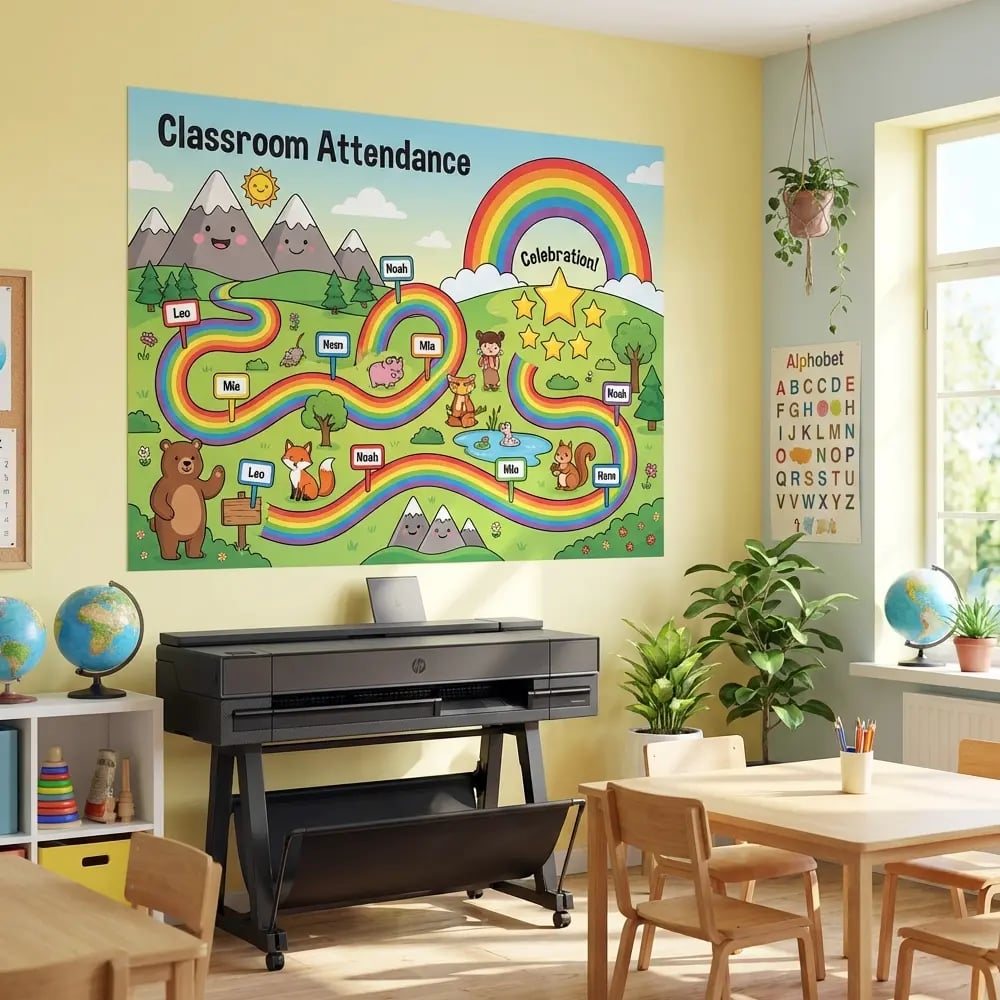
Every successful resource room starts with a comprehensive visual schedule. Unlike traditional written schedules, visual systems using icons and color-coding help students transition between activities smoothly. The Education Express 36 Poster Printer creates these schedules at sizes visible from anywhere in the room.
Start by photographing each activity area in your classroom. Print these photos alongside simple icons representing different subjects or tasks. Mount them on a magnetic board or velcro strip at student eye level. This allows quick adjustments when schedules change—a common occurrence in resource rooms where students attend various therapies and interventions.
Color-coding enhances comprehension significantly. Assign specific colors to different types of activities: blue for academic work, green for sensory breaks, yellow for group activities, and red for transitions. Students quickly internalize these associations, reducing the cognitive load of understanding their day’s structure.
Behavior Tracking That Works
Traditional behavior charts often fail because they’re too generic or complicated. Effective visual behavior tracking requires personalization and simplicity. Create individual behavior boards featuring each student’s specific goals from their behavior intervention plans (BIPs).
Use the Lifetime Design Service to develop custom icons representing target behaviors. For instance, if a student works on “quiet hands,” create a simple hand icon with a peaceful expression. Print these at 8×10 inches for individual desks or larger for whole-class displays.
Implement a token economy system using printed reward cards. Students earn tokens throughout the day, placing them on their personal boards. This immediate visual feedback proves more effective than delayed rewards or abstract point systems.
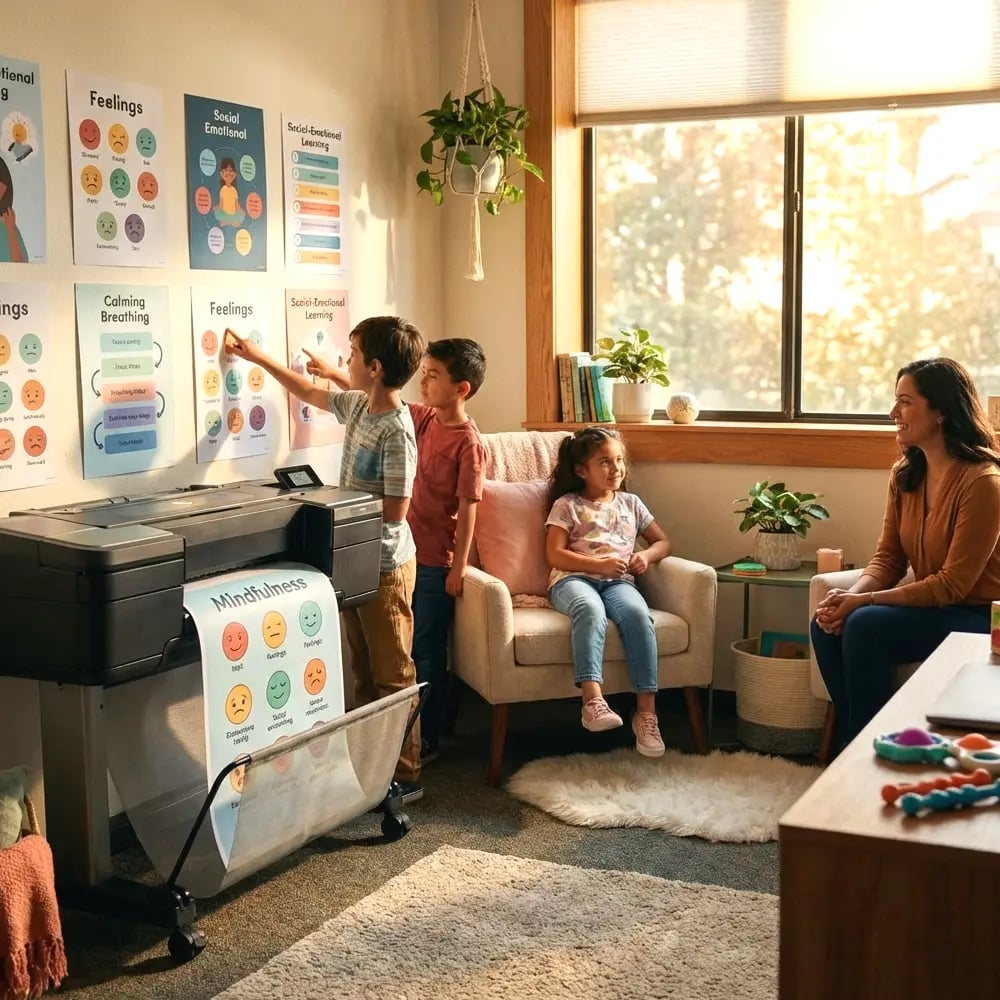
Morning Check-In
Visual emotion meters help students identify feelingsImplementation Tips
Print emotion faces in a semicircle design. Add velcro dots for students to mark their current feeling. Update based on IEP emotional regulation goals. Laminate for durability and daily use.Color Poster Maker Machine for Resource Rooms: Station Design
Multi-sensory learning stations form the backbone of effective resource rooms. Each station requires clear visual boundaries and instructions that students can follow independently. The poster machine price becomes negligible when you consider the hours saved creating and updating these materials throughout the year.
Begin with a sensory regulation station. Print calming images in soft blues and greens, creating a visual oasis where overwhelmed students can reset. Include step-by-step breathing exercises illustrated with simple graphics. The Education Studio 24″ Package A+ produces water-resistant materials perfect for sensory bins containing water beads or kinetic sand.
Academic stations benefit from subject-specific visual anchors. For your math station, create number lines extending across the wall at student height. Print multiplication charts with color-coded patterns highlighting number relationships. Reading stations need alphabet strips with mouth position photos for articulation support, plus high-frequency word walls organized by phonics patterns.
Technology integration becomes seamless when each device station includes visual instructions. Print QR codes linking to instructional videos, allowing students to access help independently. Create “tech passports” where students earn stamps for mastering different educational apps, promoting digital literacy alongside academic skills.
Communication Supports That Foster Independence
Many resource room students struggle with expressive communication. Visual supports bridge this gap effectively. Create communication boards tailored to different activities and environments within your room. Basic needs boards should include icons for bathroom, water, break, help, and finished.
For non-verbal or minimally verbal students, print choice boards for every subject area. Academic choice boards might include options for working alone or with a partner, using manipulatives or technology, or selecting between different assignments covering the same skill. Social choice boards help during free time, showing available activities through clear photographs.
Conversation starters mounted near group work areas encourage peer interaction. Print question prompts with corresponding visual cues: “What did you do this weekend?” accompanied by house and activity icons. These scaffolds support students with social communication challenges while building classroom community.
Progress monitoring in resource rooms requires consistent data collection. Visual data systems make this process manageable for both teachers and paraprofessionals. Design data collection sheets that use symbols instead of lengthy written descriptions. A simple happy face, neutral face, or sad face can indicate performance levels more quickly than paragraph notes.
Create student data folders with graph templates showing progress toward IEP goals. Print these graphs large enough for students to color in their own progress bars daily. This self-monitoring builds metacognition while reducing teacher paperwork. The immediate visual feedback motivates students more effectively than quarterly report cards.
For behavior data, implement “first/then” boards showing expected behaviors and rewards. Photograph students successfully completing tasks (with permission) and use these images in their personal success books. Regular review of these visual success stories builds self-esteem while providing concrete evidence of growth for IEP meetings.
Budget Considerations: Making Every Dollar Count
Understanding the true poster machine price involves calculating long-term savings. Traditional resource room setup costs include purchasing pre-made materials ($500-800 annually), laminating services ($200-300), and custom behavior charts ($150-250 per set). These expenses recur yearly as materials wear out or student needs change.
A comprehensive poster-making system typically pays for itself within 18 months through reduced material costs and time savings. Federal funding sources like Title I and IDEA specifically support assistive technology purchases that improve outcomes for students with disabilities.
Calculate your current spending on visual supports, including staff time creating materials. Most resource teachers spend 5-7 hours weekly on material preparation. At an average hourly rate of $35, that’s $245 weekly or $9,800 per school year in labor alone. Reducing prep time by even 50% justifies the investment rapidly.
Transforming your resource room doesn’t happen overnight. Follow this strategic timeline for systematic implementation:
Week 1-2: Assessment and Planning Photograph your current space from multiple angles. Document traffic flow problems and identify underutilized areas. Survey students about their preferences for colors and themes. Review IEPs to list all required visual supports. This groundwork ensures your visual systems address actual needs rather than assumed ones.
Week 3-4: Core Systems Development Start with the visual schedule system since it impacts daily functioning most directly. Print and laminate basic schedule cards using your color poster maker machine. Test the system for one week before adding complexity. Simultaneously, create emergency procedure posters and basic classroom rules using universally understood symbols.
Week 5-6: Behavior Support Implementation Develop individual behavior tracking systems based on BIP requirements. Create calm-down procedure posters for your sensory station. Print social stories addressing common resource room challenges like sharing materials or waiting for teacher attention. These preventative supports reduce crisis situations significantly.
Week 7-8: Academic Station Setup Design subject-specific visual anchors for each learning station. Create differentiated instruction cards showing various ways to complete the same assignment. Print reference charts at multiple sizes—desk-sized for individual use and wall-sized for group instruction. Add interactive elements like velcro pieces for hands-on learning.
Month 3: Fine-Tuning and Expansion Gather student and staff feedback about the implemented systems. Adjust color schemes or icon styles based on actual use patterns. Expand successful systems while eliminating ineffective ones. Document what works through photographs for sharing with colleagues or presenting at IEP meetings.
Professional Development and Collaboration
Creating effective visual systems requires ongoing learning and collaboration. Connect with occupational therapists and speech-language pathologists serving your students. These specialists offer invaluable insights about visual support design tailored to specific disabilities.
Share successful visual materials with grade-level teams to ensure consistency across settings. When students encounter familiar visual supports in general education classrooms, their anxiety decreases and participation increases. The professional design service helps create materials matching your school’s broader visual communication standards.
Document your visual system’s impact through before-and-after data. Track metrics like time-on-task, behavioral incidents, and independent work completion. Present these outcomes at faculty meetings to advocate for expanded visual support implementation school-wide. Your resource room becomes a model for inclusive practices benefiting all learners.
Transform Your Resource Room Today
Every student deserves a learning environment that speaks their language—often, that language is visual. Your resource room can become a beacon of calm and productivity with the right tools and strategies.
See how affordable transforming your resource room can be. Our education specialists understand special education needs and can recommend the perfect system for your space and budget.