Quick-Change Artists: Building Modular Display Systems
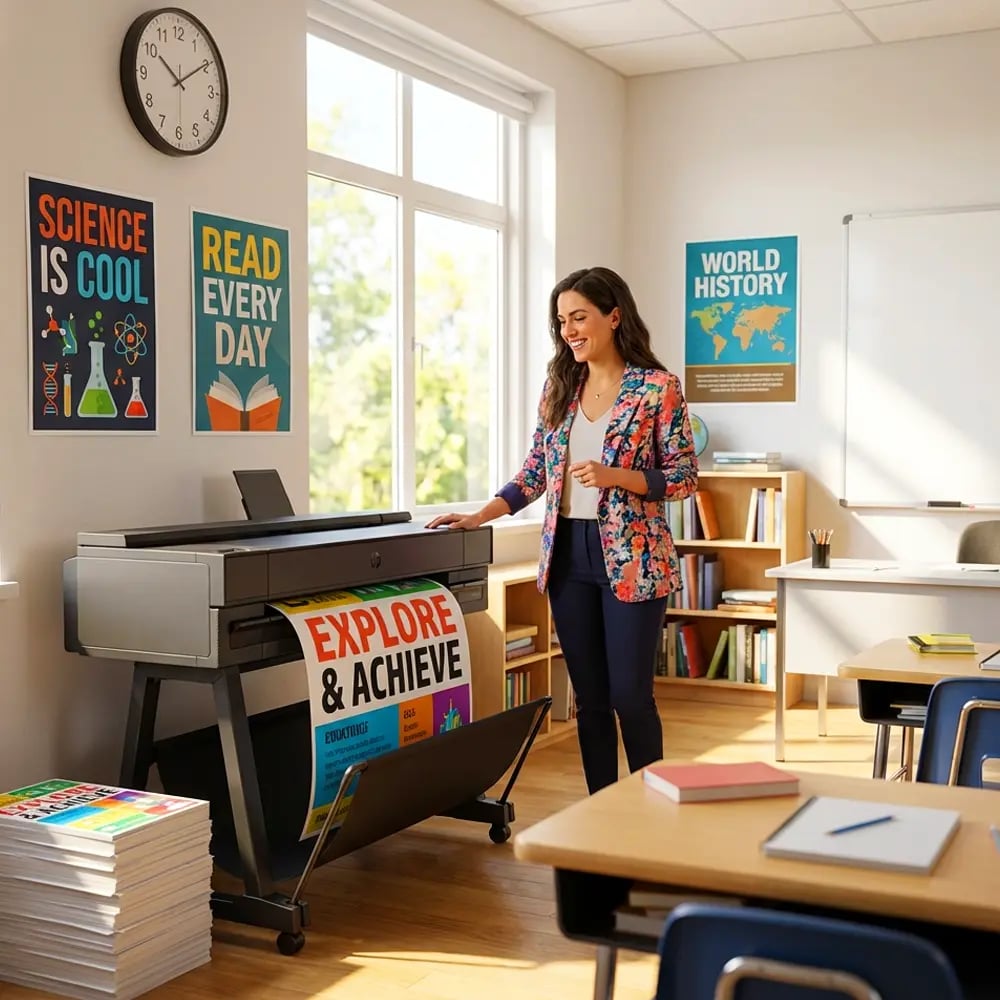
Just wrapped up my monthly classroom refresh, and I have to share this game-changer with you. Remember those exhausting weekend poster-swap marathons? Well, I’ve discovered how a color poster maker machine modular displays system can transform hours of work into minutes of easy updates. Let me walk you through what’s been saving my sanity (and my Saturdays) this year.
Why Traditional Display Methods Are Failing First-Year Teachers
Picture this familiar scene from last month. I spent my entire Sunday afternoon taking down October’s harvest-themed posters and putting up November’s gratitude displays. By evening, my shoulders ached, tape remnants decorated my walls like confetti, and half my posters had torn corners. Sound familiar?
Research from Edutopia shows that teachers spend an average of 3-5 hours monthly updating classroom displays. For first-year teachers like us, that number often doubles as we figure out what works. That’s when I realized I needed a smarter system—one that wouldn’t eat up my precious planning time or self-care moments.
The breaking point came when my mentor teacher introduced me to modular display systems. She’d been using track mounting and magnetic solutions for years, pairing them with her Education Express 24″ Poster Maker Package A. Watching her swap out an entire reading corner display in under five minutes felt like witnessing classroom magic.

Building Your First Modular Display System
Starting a modular system doesn’t require a complete classroom overhaul. Here’s what I learned from veteran teachers and my own trial-and-error experiments this semester.
Track Systems: The Foundation of Flexibility
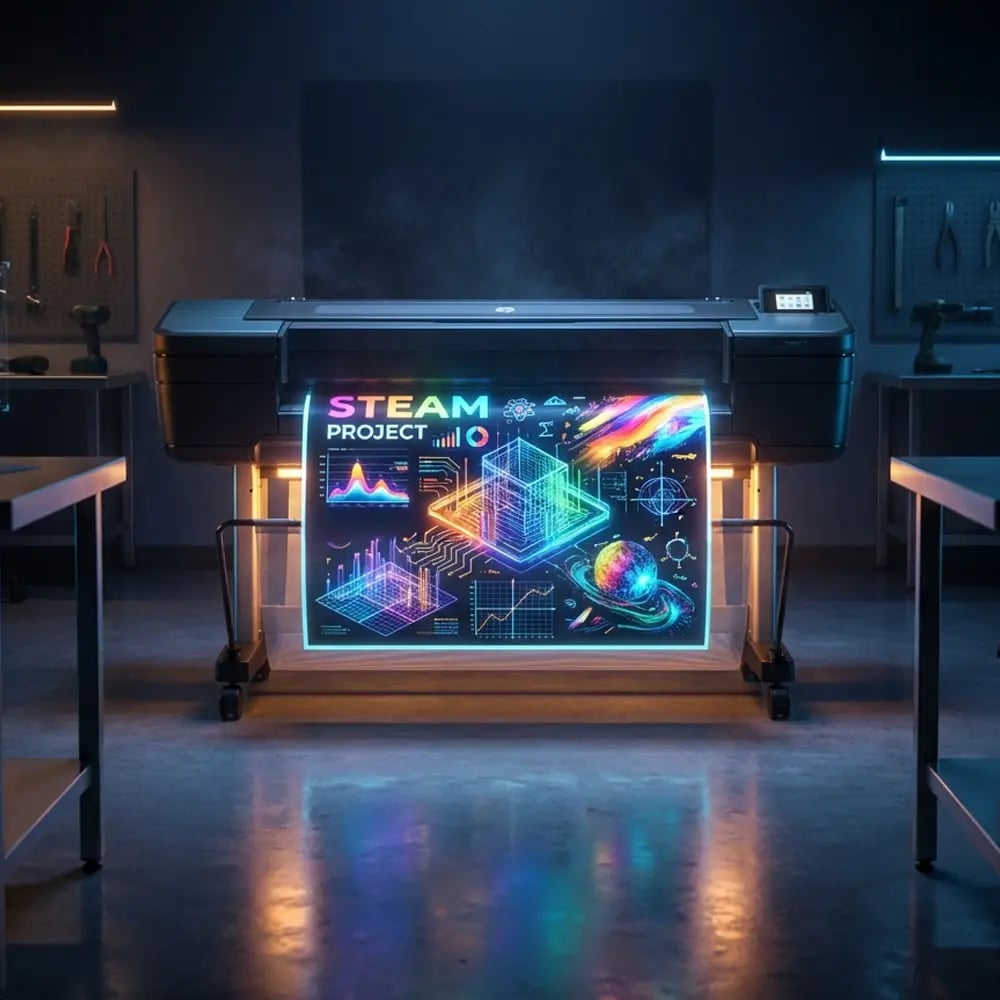
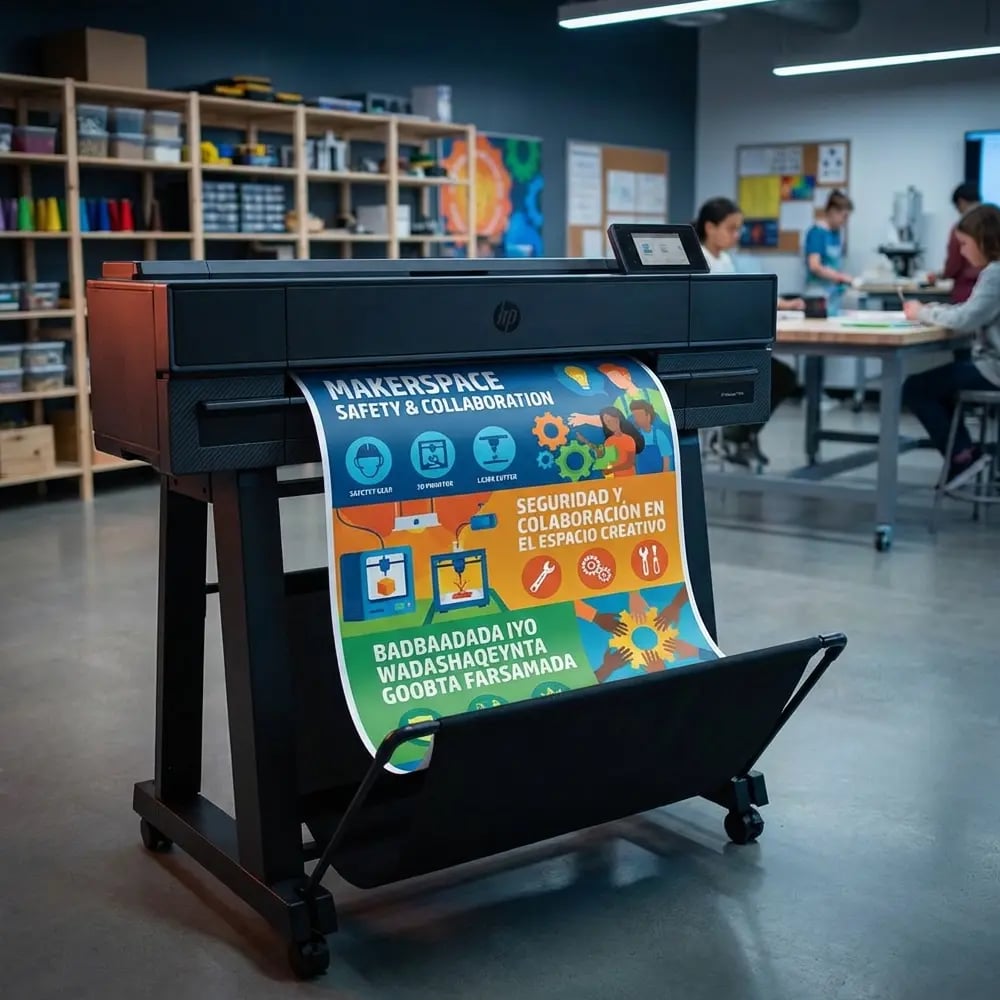
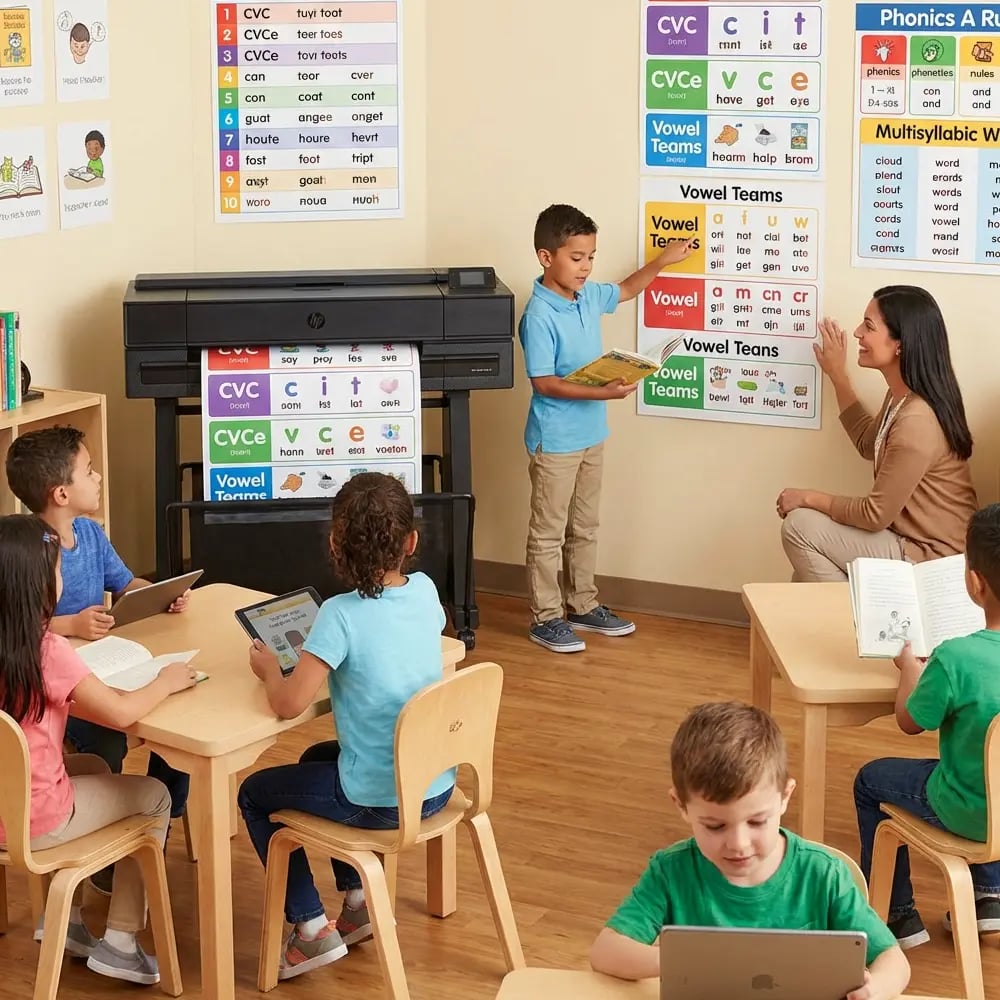
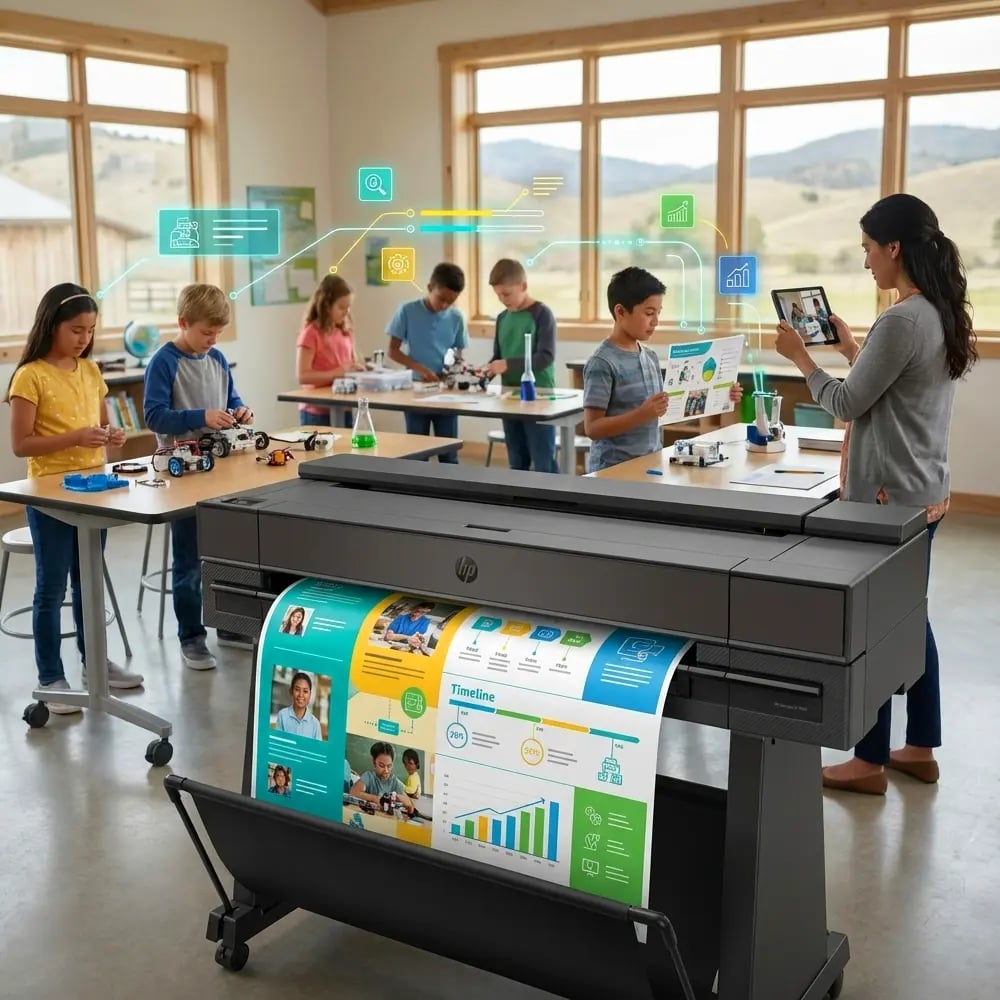
Track systems have become my classroom’s backbone. Instead of taping posters directly to walls, I installed simple aluminum tracks along my main teaching walls. The poster printer for schools creates perfectly sized prints that slide right into these tracks.
Setting up was surprisingly straightforward. I measured my wall space, ordered tracks online for about $30 per 8-foot section, and spent a Saturday morning installing them with my teacher buddy’s help. Now, changing displays takes seconds instead of hours.
The tracks hold multiple layers, too. I keep seasonal content behind current displays, ready to reveal when needed. My first graders love the “magic” of watching new learning materials appear!
Magnetic Solutions for Metal Surfaces
My classroom’s metal surfaces—filing cabinets, whiteboards, even door frames—have become prime display real estate. Using a color poster maker machine with magnetic paper transforms any metal surface into an interactive display zone.
Here’s my magnetic display toolkit:
– Magnetic strips for lightweight posters
– Heavy-duty magnetic sheets for anchor charts
– Repositionable magnetic frames for student work
– Magnetic clips for rotating artwork
The beauty? Zero wall damage and infinite rearrangement possibilities. During math time, I move number lines to child height. For reading groups, vocabulary posters travel to our carpet area. Everything adapts to our learning needs.
The Power of Hybrid Physical-Digital Systems
This year’s biggest discovery has been combining physical displays with digital elements. QR codes on posters link to videos I’ve recorded explaining concepts. Parents scan these during conferences to see lessons in action!
Creating Interactive Learning Stations
Using track-mounted poster holders, I’ve designed stations that change weekly without complete teardowns. Each station features:
– A main instructional poster (created with our school’s poster maker)
– QR-linked digital extensions
– Magnetic activity pieces students can manipulate
– Clear pockets for rotating student work samples
Studies on classroom design from Cult of Pedagogy highlight how flexible displays increase student engagement by up to 23%. I’ve definitely noticed my students interacting more with materials they can touch and rearrange.
Time-Saving Color Poster Maker Machine Modular Displays Strategies
Let me share the workflow that’s transformed my Sunday prep sessions into 30-minute Friday afternoon refreshes.
The Batch Creation Method
Every month, I dedicate one planning period to creating all my posters using our lifetime design service. I send rough sketches, and within days, I receive print-ready files perfectly sized for my track system. Friday afternoons, I print next week’s materials in one batch.
This approach means I’m never scrambling to create last-minute visuals. Everything’s ready to slide into place Monday morning. Plus, batch printing with a poster printer for schools reduces per-poster costs significantly—something my Title I budget appreciates!
Quick-Change Templates
I’ve developed modular templates that work across subjects. My “Word of the Week” template stays consistent while content changes. Same with our “Math Strategy” and “Character Trait” displays. Students recognize the familiar formats while engaging with fresh content.
These templates live in clearly labeled folders on my classroom computer. When inspiration strikes or curriculum demands shift, I can update and print within minutes. No more recreating wheels or searching through old files!
Organizing Your Modular System for Maximum Efficiency
Organization makes or breaks a modular system. Here’s what keeps mine running smoothly.
Storage Solutions That Work
Behind my desk, I’ve created a simple filing system for off-season posters. Each hanging folder contains:
– Monthly themed displays
– Subject-specific anchor charts
– Celebration posters for student achievements
– Emergency sub plans with corresponding visuals
Clear plastic sleeves protect each poster. Labels face outward for quick identification. When December arrives, I’ll pull my winter collection and store November’s materials—no hunting through piles or damaged corners.
The Master Calendar Approach
My classroom display calendar lives in my planning binder and digitally on my phone. Each month, I map out:
– Which posters need rotating
– New content to create
– Student work display schedules
– Special event signage needs
This forward planning means I can use our color poster maker machine during less busy times. No more lunch-break printing panics!
Real Classroom Success Stories
Last week perfectly demonstrated this system’s power. Our surprise state standards review moved up by two weeks. Within one planning period, I’d:
– Removed current science posters from tracks
– Printed standards-aligned math review charts
– Created a testing strategies display
– Set up calming corner visuals for test anxiety
What would’ve been a stressful scramble became a smooth transition. My principal even commented on how prepared our classroom looked!
Student Engagement Wins
My first graders have become display helpers. They love sliding new posters into tracks during our Friday afternoon “Classroom Refresh” time. One student told his mom, “We get new pictures that help us learn better!” That enthusiasm makes every installation minute worthwhile.
The magnetic elements particularly shine during hands-on activities. Yesterday, students built word families by moving magnetic letter cards around our vocabulary poster. That kind of kinesthetic learning wasn’t possible with my old tape-and-pray system.
Budget-Friendly Implementation Tips
Starting modular doesn’t require breaking the bank. Here’s my rookie-year budget breakdown:
– Basic track system: $90 (three 8-foot sections)
– Magnetic strips and sheets: $45
– Storage solutions: $30 (repurposed materials)
– Clear protective sleeves: $25
Total investment: Under $200, covered by my classroom setup stipend. The time saved? Priceless. Combined with our school’s cost-effective printing, I’m actually spending less than my previous laminating and poster board purchases.
Color Poster Maker Machine Modular Displays Best Practices
Through trial and plenty of error, I’ve learned these essential practices:
Design With Modularity in Mind
When creating posters, I now think in standard sizes that fit my track system. Our poster printer for schools handles any dimension, but consistency speeds swapping. My go-to sizes:
– 18″ x 24″ for main instructional posters
– 11″ x 17″ for student work displays
– 24″ x 36″ for anchor charts
White borders (at least 1 inch) prevent important content from hiding behind track edges. I learned this after losing half my vowel sounds to overzealous trimming!
Maintenance Made Simple
Weekly maintenance takes five minutes. I check track alignment, wipe down magnetic surfaces, and ensure posters sit securely. This prevents the dreaded mid-lesson poster avalanche (yes, that happened during parent observations).
Monthly deep cleans involve removing all displays, dusting tracks, and reorganizing storage. I schedule these during early release days when students leave at noon. By 1 PM, my room sparkles and displays look professionally maintained.
Looking Ahead: Sustainable Display Practices
This modular system has transformed more than my classroom appearance. It’s given me time back—time for lesson planning, student conferences, and yes, even personal life. That sustainability matters for avoiding first-year teacher burnout.
Next semester, I’m expanding to include student-created modular displays. Using our Coated Poster Paper, students will design their own learning aids. Teaching them the swap system empowers ownership of our classroom environment.
I’m also experimenting with seasonal display subscriptions. Creating summer’s worth of posters now means stress-free starts next August. Future me will thank current me for that planning!
Your Quick-Start Action Plan
Ready to build your own modular system? Here’s your weekend warrior checklist:
1. Measure available wall space for track installation
2. Inventory metal surfaces suitable for magnetic displays
3. Order basic supplies (start small—one wall or zone)
4. Create first batch of modular-sized posters
5. Install with a buddy (everything’s easier with help!)
6. Organize storage before it becomes overwhelming
Start with your highest-traffic display area. For me, that was our daily schedule and learning objectives board. Success there motivated expansion to other zones.
Remember, perfection isn’t the goal—flexibility is. Your color poster maker machine modular displays system should serve you, not stress you. Some weeks, displays might stay up longer than planned. That’s okay! The beauty of modular systems is they’re ready whenever you are.
This journey from exhausted Sunday decorator to efficient Friday refresher has revolutionized my teaching life. Those reclaimed weekend hours? I spend them hiking local trails, reading for pleasure, and actually enjoying Sunday dinners with friends. Self-care isn’t selfish when it makes us better teachers.
Transform Your Classroom Today
The difference between drowning in display duties and smoothly managing visual learning environments comes down to smart systems. Whether you’re surviving your first year like me or seeking sanity in year five, modular displays offer real solutions.
Want to explore how a poster printer for schools can enhance your modular system? Check out how other teachers are transforming their classrooms. Or dive deeper into quick printing workflows that pair perfectly with modular displays.
Your Sunday afternoons are calling—answer them with freedom, not poster tape! Let’s make this the year we work smarter, not harder. Our students deserve energized teachers, and we deserve lives outside our classrooms. Modular display systems help achieve both.
Ready to join the quick-change revolution? Your future refreshed self (and intact shoulders) will thank you!