Last week, I watched Marcus trace the letter “b” on our new textured phonics wall while simultaneously tapping the corresponding mouth position card. Within minutes, this struggling reader was blending sounds he’d confused for months. That’s when I knew our color poster maker for schools phonics walls were truly revolutionary.
The Science Behind Multi-Sensory Phonics Walls
Research from the National Reading Panel confirms what we’ve seen firsthand: systematic phonics instruction works best when it engages multiple senses. Furthermore, students with dyslexia show 40% better retention when tactile elements accompany visual displays. Additionally, English language learners benefit from seeing mouth positions alongside letter formations.
Why Traditional Phonics Walls Fall Short
Most classroom phonics displays rely solely on visual input. However, approximately 65% of students learn better through kinesthetic or tactile methods. Moreover, traditional static displays don’t accommodate the diverse needs of today’s inclusive classrooms.
Common limitations include: • Flat, non-interactive surfaces • Single-sensory approach • Limited differentiation options • Poor visibility from student desks • Lack of movement integration
Students who benefit from kinesthetic learning approaches
Designing Your Color Poster Maker for Schools Phonics Wall
Creating an effective multi-sensory phonics wall starts with thoughtful planning and the right tools. Here’s my proven five-zone approach that transforms any classroom wall into a literacy powerhouse.

Zone 1: Sound-Symbol Mapping
Start with large-format letter cards (8.5″ x 11″) printed on Satin Photo Paper. Each card should feature:
• Uppercase and lowercase letters • Key picture representing initial sound • Mouth position photograph • Textured element (sandpaper, fabric, or raised dots) • QR code linking to pronunciation video
Place these at student eye level, ensuring wheelchair accessibility.
Zone 2: Blending Ladders
Create vertical progression strips showing:
• CVC word families • Consonant blends • Digraphs and diphthongs • Multi-syllabic progressions
Use color-coding: consonants in blue, vowels in red, digraphs in green. Therefore, students can track patterns visually while physically sliding magnetic letters along laminated strips.
Essential Elements for Diverse Learners

Supporting Dyslexic Learners
• High contrast backgrounds • Sans-serif fonts (Lexend Deca) • Wider letter spacing • Color overlays available • Tactile letter tracing paths

English Language Learners
• Bilingual labels • Mouth position photos • Cultural image connections • Audio support via QR codes • Cognate highlighting

Kinesthetic Learners
• Moveable letter tiles • Gesture cards for sounds • Floor pathways for blending • Manipulative storage pockets • Interactive flip charts
Implementation Timeline & Budget Considerations
Creating Interactive Elements with Your Color Poster Maker for Schools Phonics System
The magic happens when students can touch, move, and manipulate phonics elements. Here’s how I create interactive components using our poster printing system:
Texture Cards
Print letters on cardstock, then add sandpaper, velvet, or bubble wrapImplementation Tips
Use the PSE Cool 25″ Cold Laminator to seal textured elements between clear sheets. Subsequently, students trace letters while saying sounds, engaging multiple neural pathways simultaneously.Sound Sorting Stations
Magnetic backing on laminated cards for easy movementStorage Solutions
Create clear pockets using laminated sheets. Thus, students can physically sort picture cards by initial sounds, blends, or word families while building phonemic awareness through movement.Research-Backed Layout Strategies
Mirrors reading direction for consistency
Reduces visual fatigue and strain
Helps pattern recognition
Maximizing Your Investment
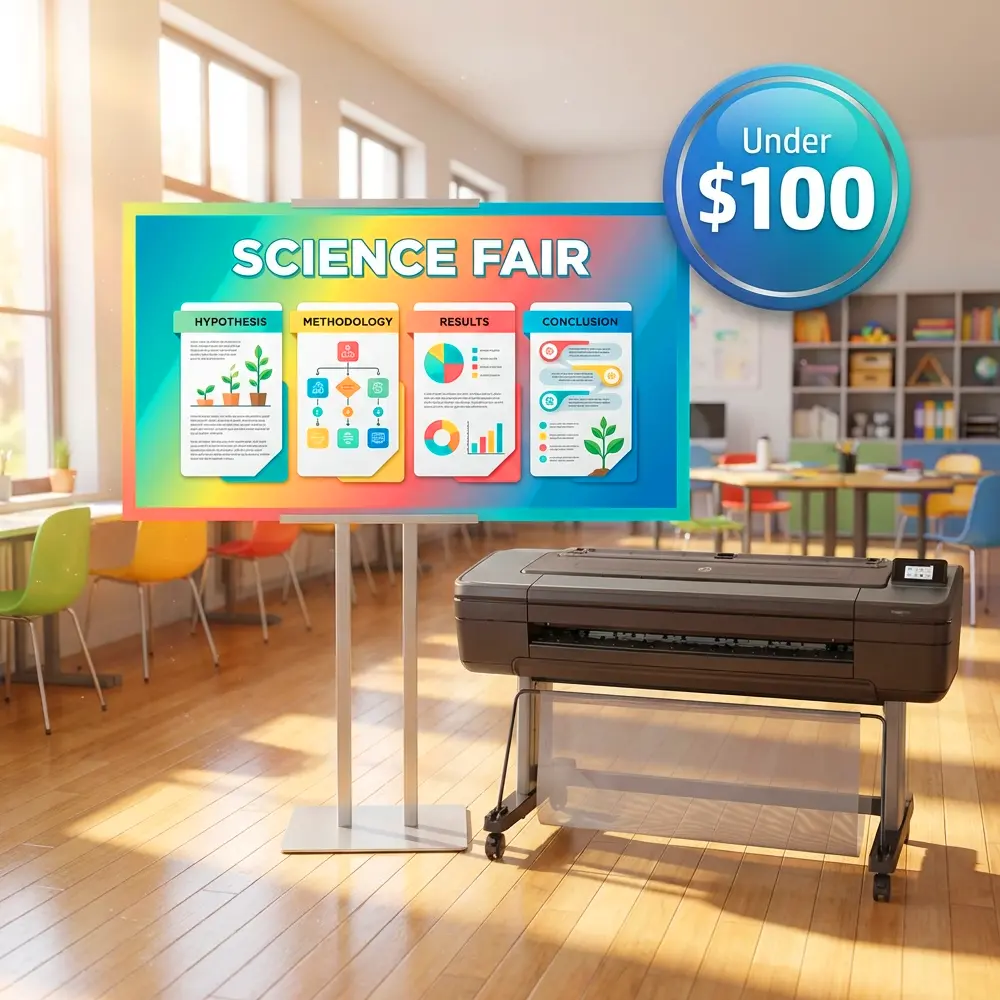
When evaluating poster making machine price options, consider the long-term benefits. A comprehensive system like our Education Studio 24″ Package A+ includes everything needed for multi-year use:
• Waterproof, smudge-resistant inks perfect for tactile materials • Scanner for enlarging student work into poster-sized phonics examples • Lifetime design service for custom phonics materials • Five-year warranty ensuring continuous support
The initial investment pays dividends through reduced outsourcing costs and immediate material creation capabilities.
Transform Your Literacy Instruction Today
Ready to revolutionize phonics instruction for all learners?
Or explore our cost-per-print calculator to see your savings
Quick Implementation Checklist
✓ Measure wall space and plan zones ✓ Select appropriate color poster maker for schools system ✓ Order specialty papers and laminating supplies ✓ Create initial sound-symbol cards with texture elements ✓ Install at varied heights for accessibility ✓ Add QR codes linking to parent resources ✓ Schedule student orientation sessions ✓ Plan quarterly updates based on curriculum progression
Remember, the most effective phonics walls grow with your students. Start simple, then add layers of complexity as learners develop confidence and skills.