. Young")

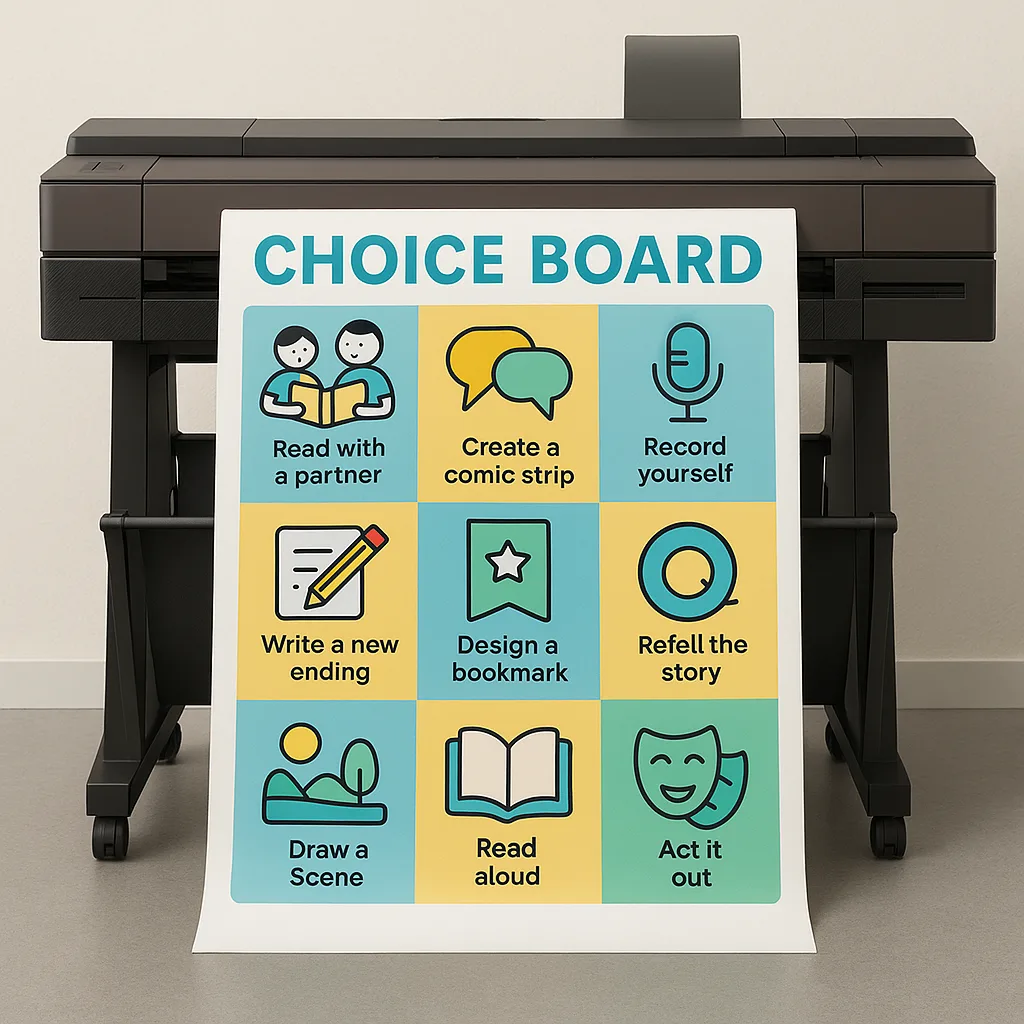
Picture this: twenty-four first graders, each buzzing with their own learning style, pace, and interests. Today, instead of everyone doing the same worksheet, they’re gathered around our colorful choice board, pointing excitedly at different options. This visual menu revolution has transformed my classroom, and the secret weapon? Our banner printing machine choice boards that make differentiation feel like an adventure, not a chore.
Why Banner Printing Machine Choice Boards Transform Learning
Choice boards aren’t just pretty posters—they’re powerful tools for student agency. Research from the Association for Supervision and Curriculum Development shows that when students have meaningful choices in their learning, engagement increases by up to 40%. Moreover, visual menus help reduce cognitive load for young learners who might struggle with written instructions alone.
After investing in our school’s banner printing machine, I discovered something magical. Professional-quality visuals make a huge difference in how seriously students take their choices. Furthermore, the durability means these boards last all year, unlike my old hand-drawn versions that barely survived October!
The Science Behind Visual Learning Menus
Visual processing happens 60,000 times faster than text processing, according to 3M Corporation research. Therefore, when we present choices visually, we’re tapping into our students’ natural learning pathways. Additionally, color-coded sections help students quickly identify options that match their interests or learning goals.
Here’s what the research tells us about choice boards:
- Students show 23% higher task completion when given visual choice options
- Behavioral issues decrease by 35% when students feel empowered through choice
- English Language Learners demonstrate 45% better comprehension with visual supports
Creating Your First Banner Printing Machine Choice Boards
Let me walk you through creating choice boards that actually work. First, you’ll need to consider your learning objectives—choice doesn’t mean chaos! Subsequently, think about how different options can lead to the same learning goal through various pathways.
Essential Design Elements for Effective Choice Boards
Start with clear categories. For instance, I organize my reading choice board into “Must Do,” “Choose 2,” and “Free Choice” sections. Each section gets its own color—blues for calm focus work, yellows for creative options, and mint greens for collaborative choices. These aren’t random; they’re based on classroom color psychology research.
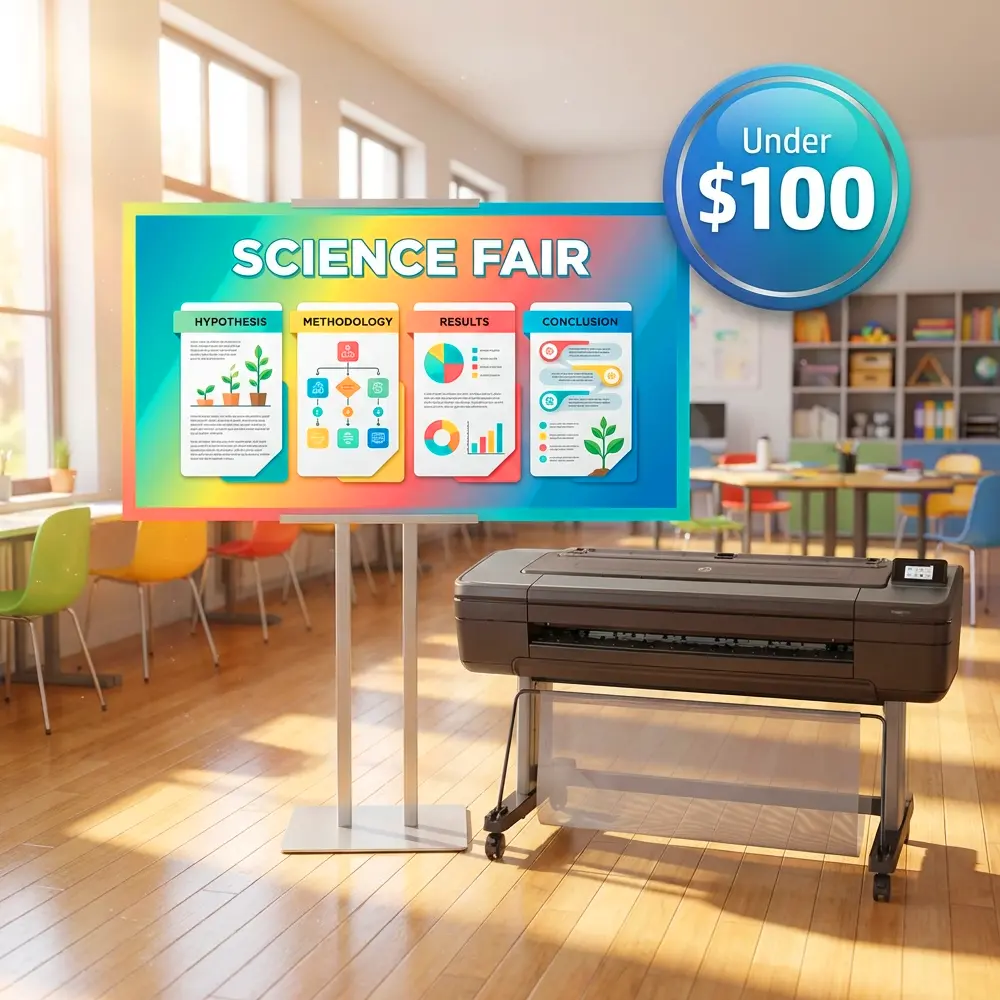
Size matters too. Thanks to our Education Express 36 Poster Printer, I create boards that are 24″ x 36″—large enough for the whole class to see, yet manageable for our bulletin boards. However, some teachers prefer even larger formats for hallway displays or learning centers.
When considering poster maker machine price options, remember that investing in quality printing pays off through years of use. Indeed, one set of laminated choice boards can transform hundreds of lessons!
Differentiation Strategies That Actually Work
True differentiation goes beyond just offering choices—it’s about creating meaningful options that meet diverse learning needs. Research from CAST’s Universal Design for Learning framework emphasizes multiple means of representation, action, and engagement.
Here’s my tried-and-true approach:
Tiered Choice Options
Create three levels within each choice. For example, in our math menu:
- Green Level: Practice basic addition with manipulatives
- Yellow Level: Solve word problems with pictures
- Red Level: Create your own word problems for a partner
Students self-select based on confidence, not ability labels. Surprisingly, they often challenge themselves more than I would have assigned!
Tech Integration with Traditional Visual Boards
While digital tools have their place, physical choice boards created with a quality banner printing machine offer unique advantages. Students can physically move their name tags to different choices, creating kinesthetic engagement. Additionally, these boards work during tech failures and don’t require screen time—a growing concern among educators and parents.
However, I do integrate QR codes on some choice cards. These link to instructional videos or digital resources, bridging traditional and modern learning approaches. The Lifetime Design Service helped me create QR code templates that match our visual theme perfectly!
Real Classroom Success Stories
Last month, struggling reader Jayden surprised everyone. Given choices on our poetry board, he selected “Create a Rap” over traditional recitation. His performance? Phenomenal! This wouldn’t have happened without visual options that sparked his interest.
Similarly, our English Language Learners thrive with picture-supported choices. Maria, who arrived speaking minimal English, navigates choice boards confidently using visual cues. Subsequently, her language skills have grown alongside her academic confidence.
Implementation Timeline for Choice Board Success
Week 1-2: Introduce one simple choice board for morning work. Keep options limited (3-4 choices) while students learn the routine.
Week 3-4: Expand to subject-specific boards. Add student reflection components—”Which choice helped you learn best?”
Month 2: Implement student-suggested choices. Let them co-create boards for upcoming units!
Month 3+: Full integration across subjects. Students become choice board experts, even helping design them.
Budget-Friendly Tips for Quality Visual Menus
Concerned about poster maker machine price? Here’s how to maximize your investment:
- Create Templates: Design base layouts you can modify for different subjects
- Laminate Everything: The PSE Cool 25″ Cold Laminator extends board life significantly
- Share Resources: Partner with grade-level teammates to split design work
- Reusable Elements: Create moveable pieces for frequently changing options
Remember, one professionally printed board can replace dozens of hand-drawn versions throughout the year. Therefore, the initial investment in quality printing equipment pays dividends in time saved and student engagement earned.
Troubleshooting Common Choice Board Challenges
Even the best visual menus face obstacles. Here’s how to overcome them:
Challenge: Students always pick the “easy” option.
Solution: Implement a point system where challenging choices earn bonus rewards. Visual progress charts work wonders!
Challenge: Choice paralysis—too many options overwhelm students.
Solution: Start with 3-4 choices, gradually increasing. Use our cost-effective printing options to create progressive boards.
Challenge: Managing different paces of work completion.
Solution: Include “early finisher” choices on every board. These extend learning without creating busy work.
Try It Tomorrow: Your First Choice Board
Ready to revolutionize your classroom? Here’s your action plan:
- Choose One Subject: Start small—maybe Friday’s math review?
- Design Three Options: One hands-on, one written, one creative
- Print and Post: Use bright colors and clear images for maximum impact
The transformation won’t happen overnight. However, within weeks, you’ll notice students taking ownership of their learning in ways that surprise and delight you. Best of all? Those professional-quality boards from your banner printing machine will support differentiated instruction all year long.
Remember, choice boards aren’t about making more work for ourselves—they’re about working smarter. By investing time upfront in quality visual menus, we create sustainable systems that empower students while actually reducing our daily prep time. Now that’s a teaching win!
Want to see choice boards in action? Check out this testimonial video from educators already transforming their classrooms. Your visual menu revolution starts today! 🌟