Hey there, wonderful PTA friends! 🌸 Let’s talk about something that makes every fund-raiser’s heart sing: getting amazing quality while keeping costs down. As your PTA president who just helped secure our school’s new poster maker, I’ve learned a thing or two about poster maker machine price savings that I’m thrilled to share with you today!
Understanding Your School’s Poster Paper Needs
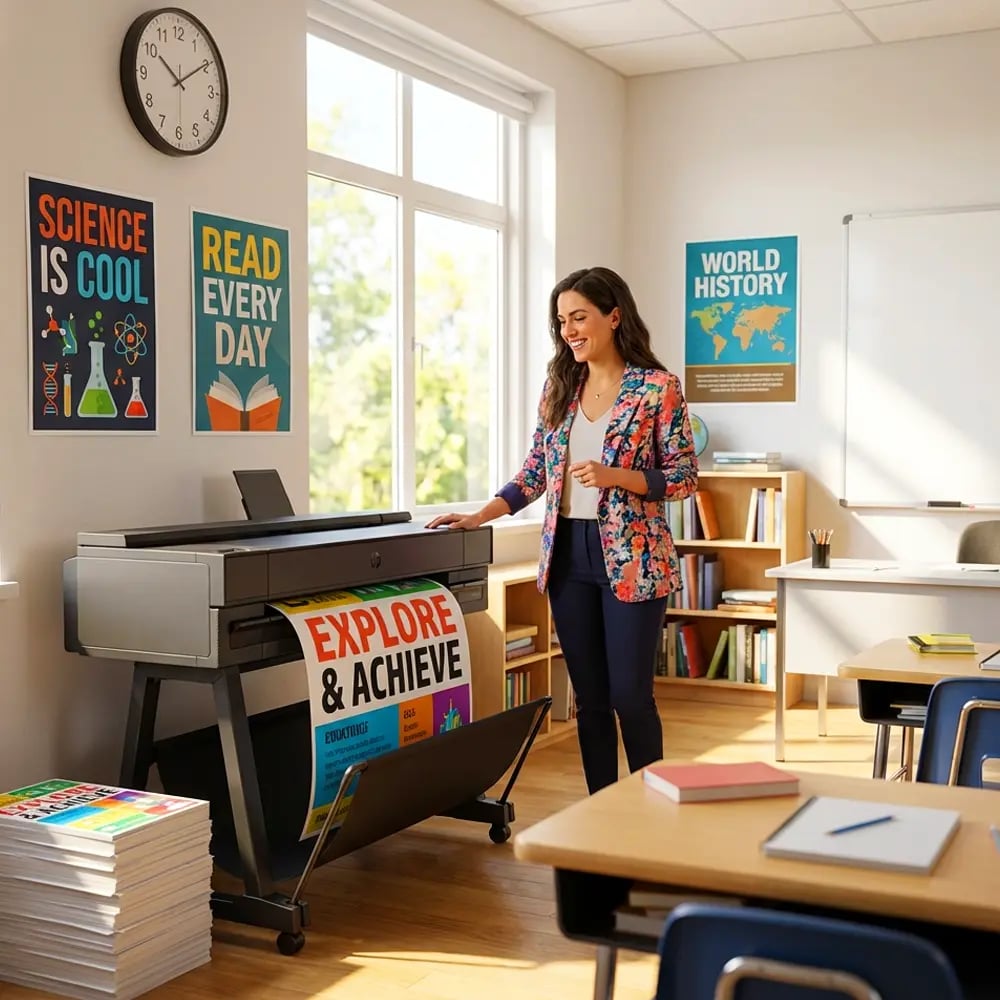
When we first started exploring poster maker machines for schools, I quickly realized that the printer itself is just the beginning. The real ongoing investment? Paper! But here’s the good news: with smart shopping strategies, you can create stunning educational materials without breaking your budget.
Before diving into specific paper options, let’s assess what your school actually needs. Are you primarily creating temporary hallway displays? Long-lasting classroom anchor charts? Weather-resistant outdoor banners for school events? Each use case calls for different paper types, and understanding this helps you allocate your budget wisely.
Smart Shopping Strategies for Poster Maker Machine Price Savings
Bulk Buying Benefits
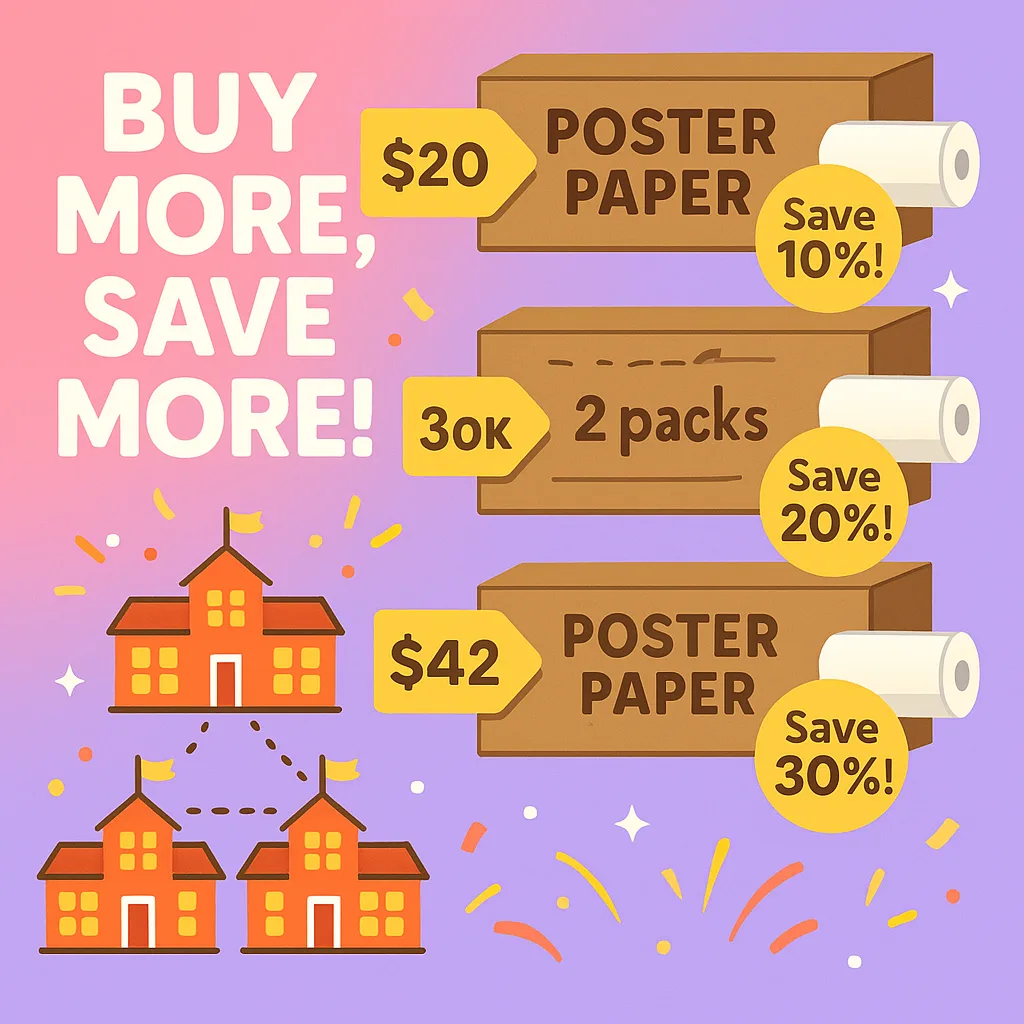
Here’s my number one tip from organizing countless fund-raisers: bulk buying is your best friend! When purchasing paper for your school’s poster maker, ordering in larger quantities can slash your per-roll costs by 30-40%. Last spring, we coordinated with two neighboring schools to place a joint order, and the savings funded our entire spring carnival poster campaign!
Consider forming a “poster paper co-op” with other schools in your district. Not only do you get better pricing, but you can also share storage space and even swap specialty papers when needed. It’s community collaboration at its finest!

Generic vs. Brand Name: The Real Story
Let me share something that surprised me: generic poster paper isn’t always the budget winner it appears to be. Through trial and error (and yes, a few wrinkled posters at our fall festival!), I’ve learned that quality matters more than the label.
Generic Papers
Cons: May jam more often, colors less vibrant
Best for: Draft prints, temporary signs
Mid-Range Options
Cons: Slightly higher cost than generic
Best for: Classroom displays, PTA materials
Premium Papers
Cons: Higher investment
Best for: Permanent displays, special events
When to Splurge: Strategic Premium Paper Investments
Through five years of PTA leadership and countless events, I’ve identified key moments when investing in premium materials pays dividends. Think of it like choosing between paper plates and china – sometimes the occasion calls for something special!
Always splurge on:
- Permanent classroom reference posters (multiplication tables, sight words)
- School entrance displays that create first impressions
- Auction items or fund-raiser materials where quality equals dollars
- Outdoor event signage that needs weather resistance
- Student achievement displays that families will photograph
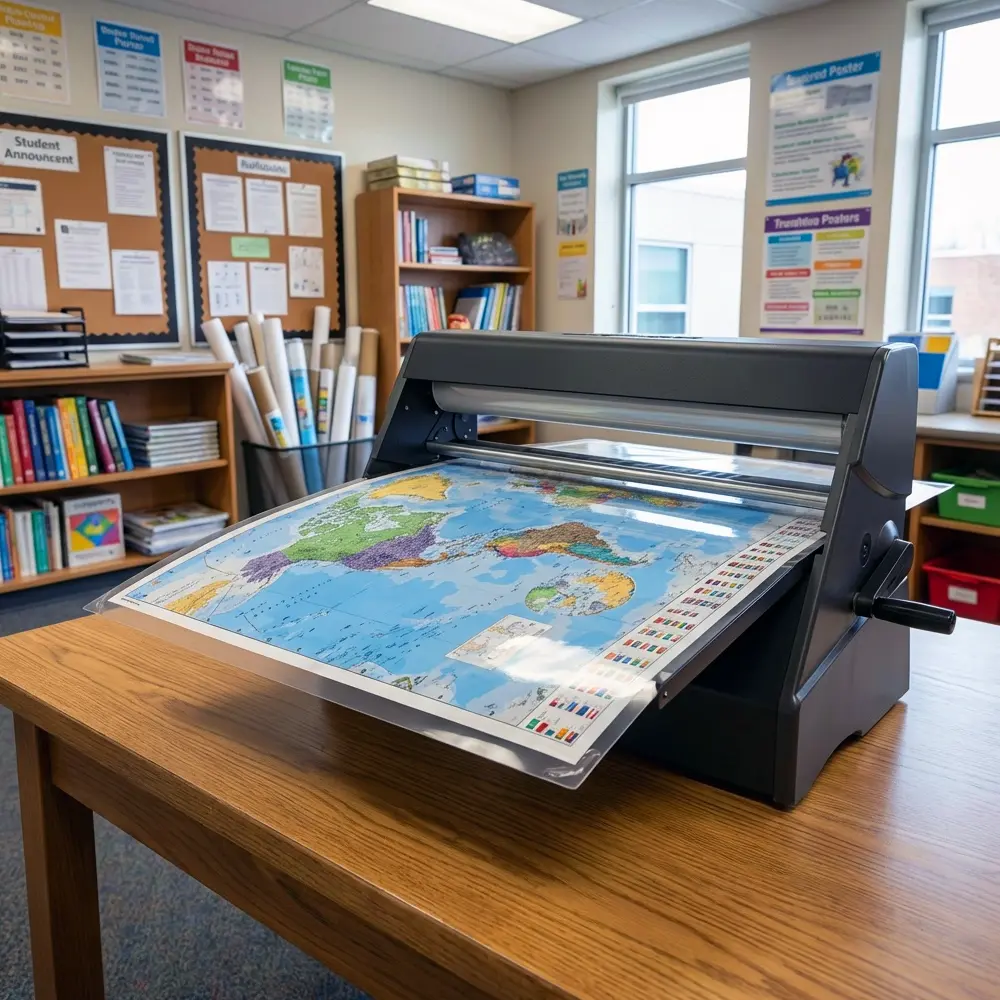
For these special projects, consider Satin Photo Paper or Coated Poster Paper from Poster Studio Express. Yes, they cost more upfront, but they eliminate the need for lamination and last significantly longer!
Your Cost-Per-Project Calculator Guide
One game-changing tool I created for our PTA is a simple cost-per-project calculator. This helps us make informed decisions about paper choices and ensures we’re maximizing our poster maker machine price savings throughout the year.
🌸 Simple Project Cost Formula:
1. Paper cost per square foot = (Roll price ÷ Roll length) ÷ Width in feet
2. Add ink cost (typically $0.15-0.25 per square foot)
3. Factor in any finishing (lamination, mounting)
4. Divide total by number of copies needed
Example:
– 150-foot roll of 24″ standard paper: $45
– Cost per square foot: $0.15
– 20 classroom posters (24″×36″ each): $21.60 for paper
– With ink: approximately $30 total
– Per poster cost: $1.50
Average savings with bulk purchasing
Budget Recommendations for Every Scenario
Every school’s situation is unique, so I’ve developed budget recommendations based on real-world scenarios from schools using poster maker machines for schools. These come from conversations with PTA presidents across our district!
Focus on standard poster paper for daily use, supplement with one premium roll for special events. Join a paper co-op and time purchases with back-to-school sales.
Mix of standard and coated papers. Invest in weather-resistant options for outdoor use. Buy in bulk quarterly to maximize discounts.
Comfortable Budget ($2000+/year):
Stock variety of papers for different needs. Include photo-quality options for showcase projects. Consider specialty materials like canvas or vinyl.
Storage and Organization Tips
Here’s something I learned the hard way: proper storage protects your paper investment! After discovering warped rolls from humidity damage (there went $200!), we implemented a simple storage system that has saved us hundreds of dollars.
Essential storage guidelines:
- Store rolls vertically in a cool, dry location
- Use a simple PVC pipe rack (under $50 to build!)
- Label each roll with purchase date and type
- Keep an inventory sheet to track usage and reorder points
- Rotate stock to use older paper first
Maximizing Your Investment Year-Round
The true secret to poster maker machine price savings isn’t just about finding the cheapest paper – it’s about strategic planning and smart usage throughout the school year.
🍎 Back-to-School Season
Stock up on standard papers during August sales. Many suppliers offer 20-30% discounts! Create welcome banners, classroom rules, and schedule posters using economical options.
❄️ Holiday Seasons
Plan ahead for winter concerts and holiday events. Use mid-range papers for temporary decorations, save premium stock for keepsake programs parents will treasure.
🌸 Spring Events
Budget for weather-resistant materials for outdoor events. Consider the Education Studio Package for creating vibrant spring carnival signage!
Take Action: Your Next Steps to Savings
Ready to transform your school’s poster-making budget? Here’s your action plan for achieving those poster maker machine price savings we’ve been discussing!
🌟 Your 30-Day Savings Challenge:
Week 1: Audit your current paper inventory and usage
Week 2: Research suppliers and compare bulk pricing
Week 3: Connect with neighboring schools about co-op buying
Week 4: Place your first strategic bulk order!
Remember, every dollar saved on supplies means more resources for enriching our children’s education. Whether you’re working with the Teacher Pro Solo Package or a full-scale printing lab, these strategies will help you maximize your investment.
Together, we’re not just saving money – we’re creating vibrant learning environments that inspire our students every single day. Here’s to smart shopping, beautiful posters, and thriving schools! 💖


